If you’re not keen on scouring the streets for hours on end, you’ve come to the right place. This guide will take you through each step so you can complete Proof of Unlife with little effort.
Proof of Unlife part 1: Search the area for evidence Proof of Unlife part 2: Search the area around the crash site Proof of Unlife part 3: Find out where the RPG was fired from Proof of Unlife part 4: Speak to Maia Proof of Unlife part 5: Search for further clues Proof of Unlife part 6: Search for clues around Maia’s Terrace Proof of Unlife part 7: Speak to Kirill Proof of Unlife part 8: Search for the Ammo crate
Proof of Unlife part 1: Search the area for evidence
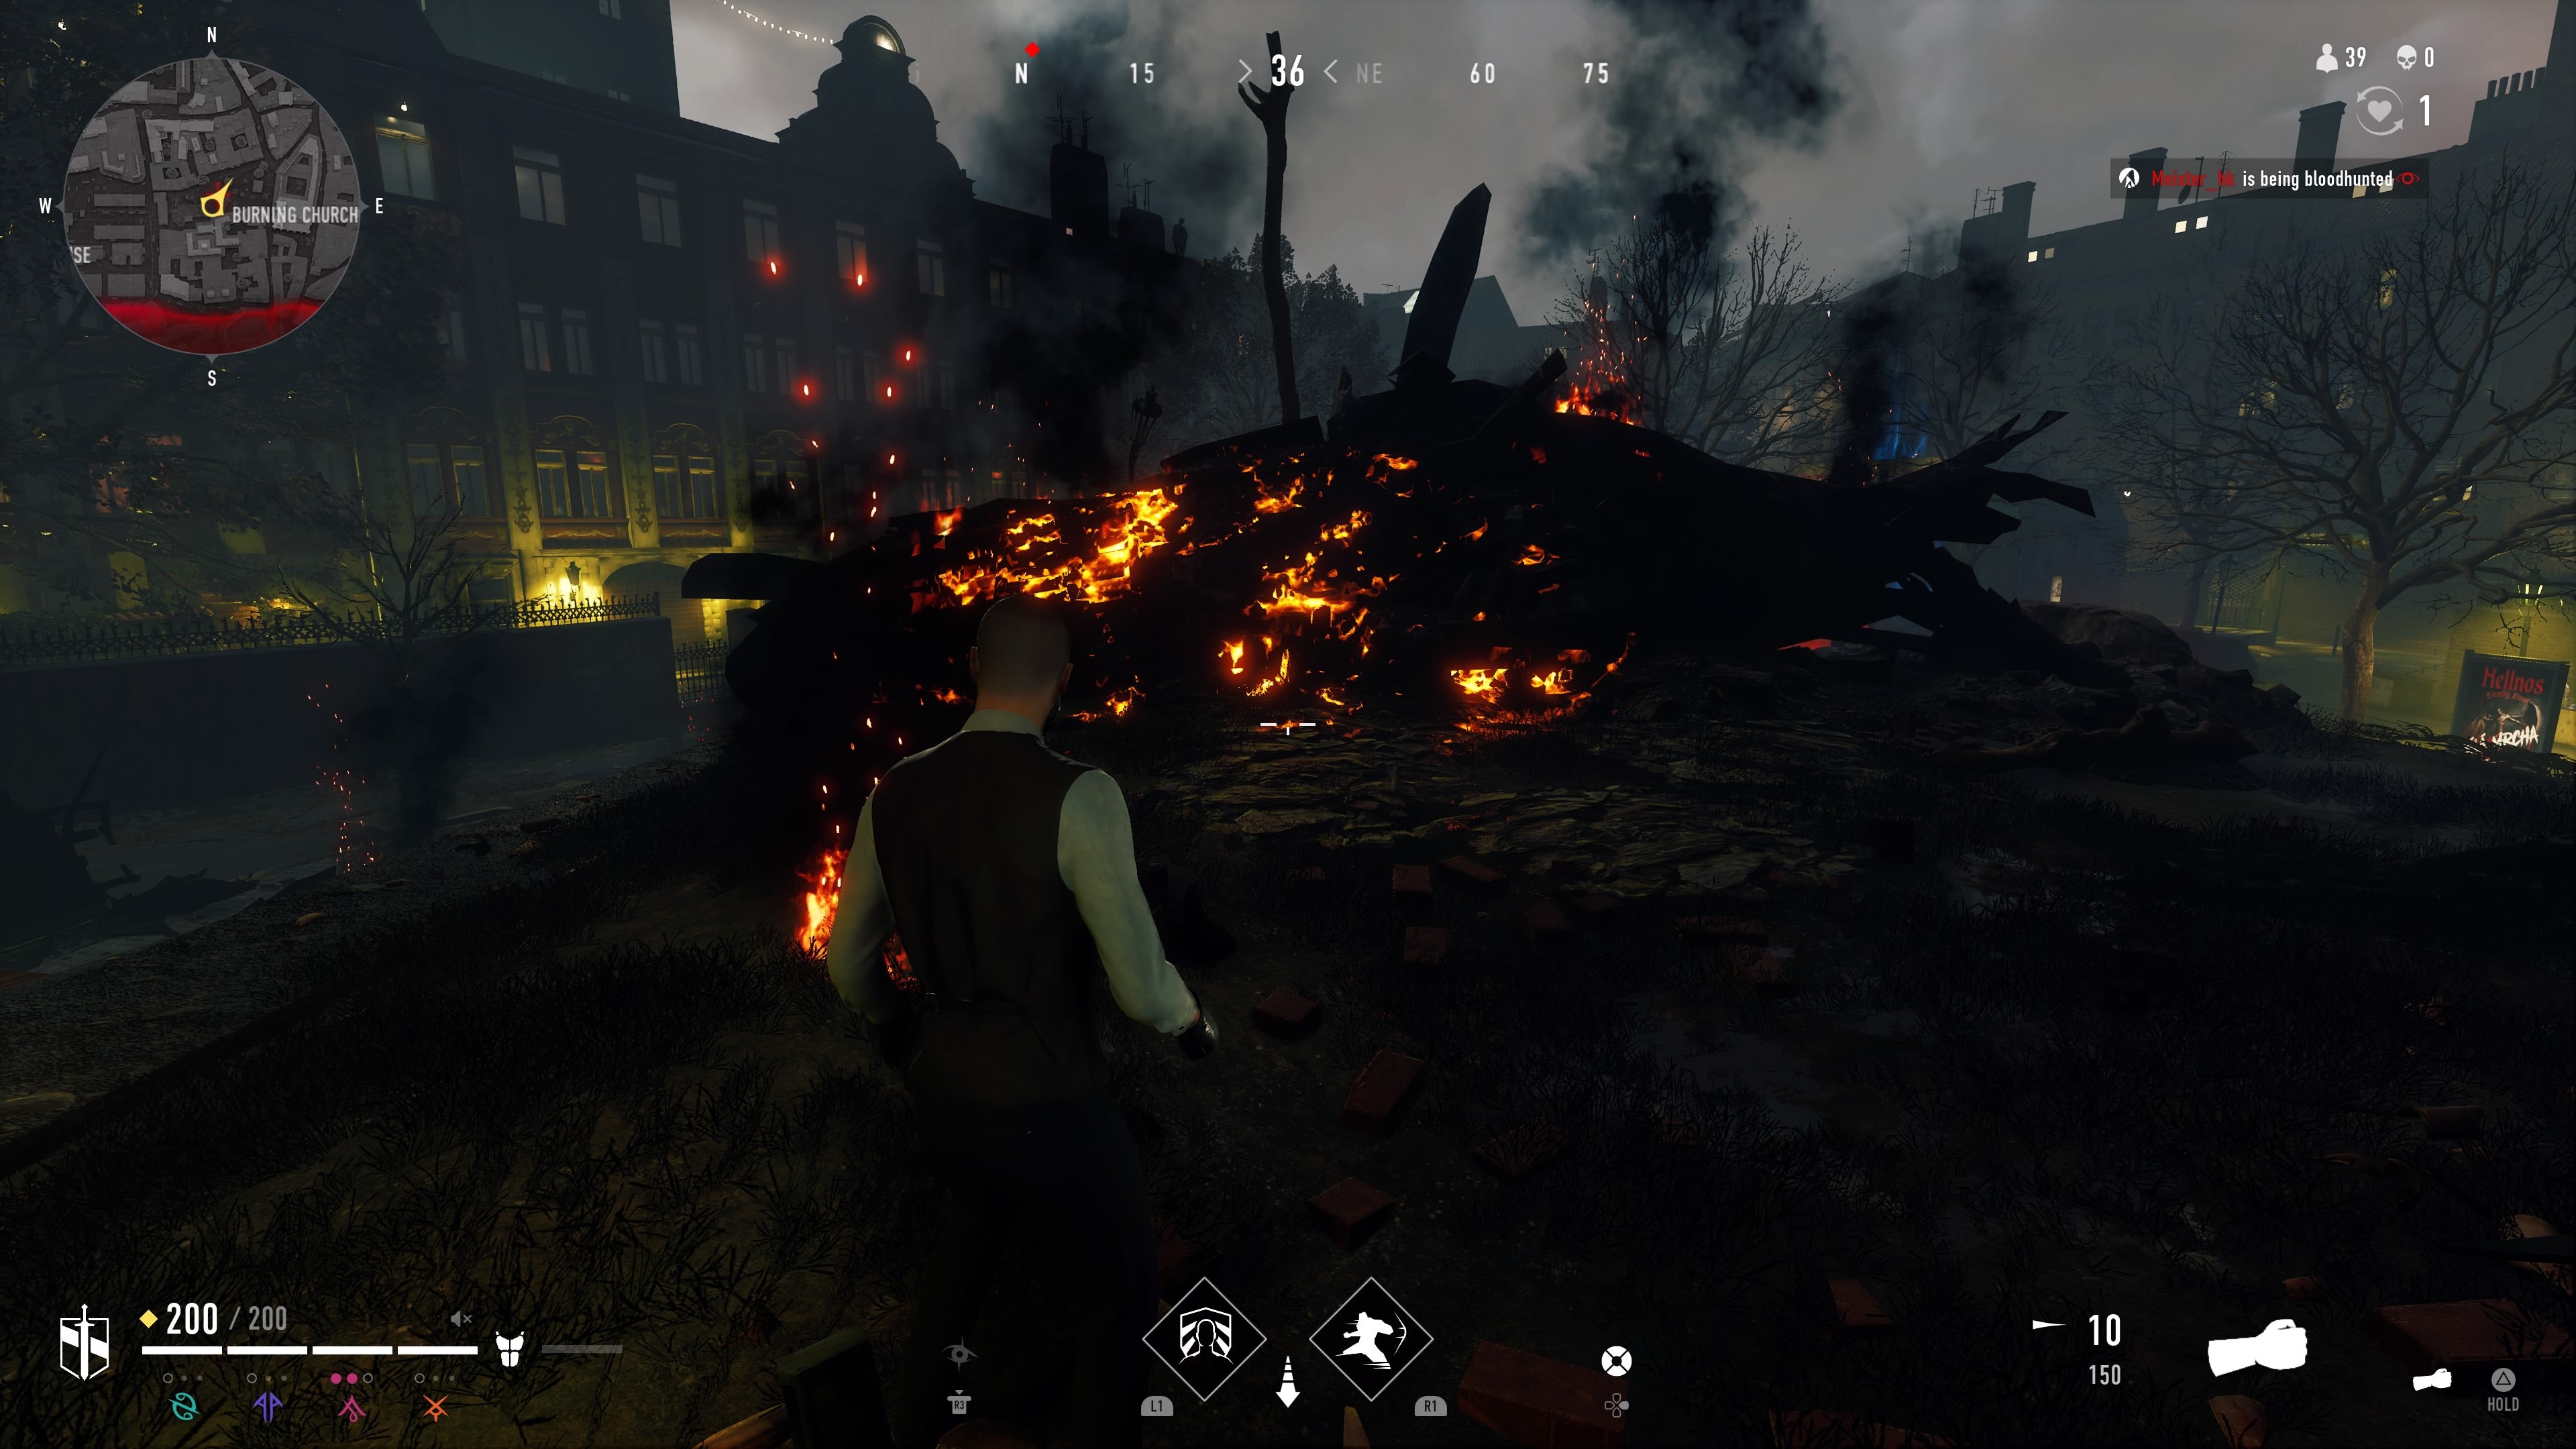
For part one, head to the Entity Camp between the Slaughterhouse and the Burning Church. This is a popular spot for early fights, so we recommend spawning nearby and gathering some weapons before heading over. Once in the area, all you have to do is walk up to the burning helicopter and the quest will complete.
Proof of Unlife part 2: Search the area around the crash site
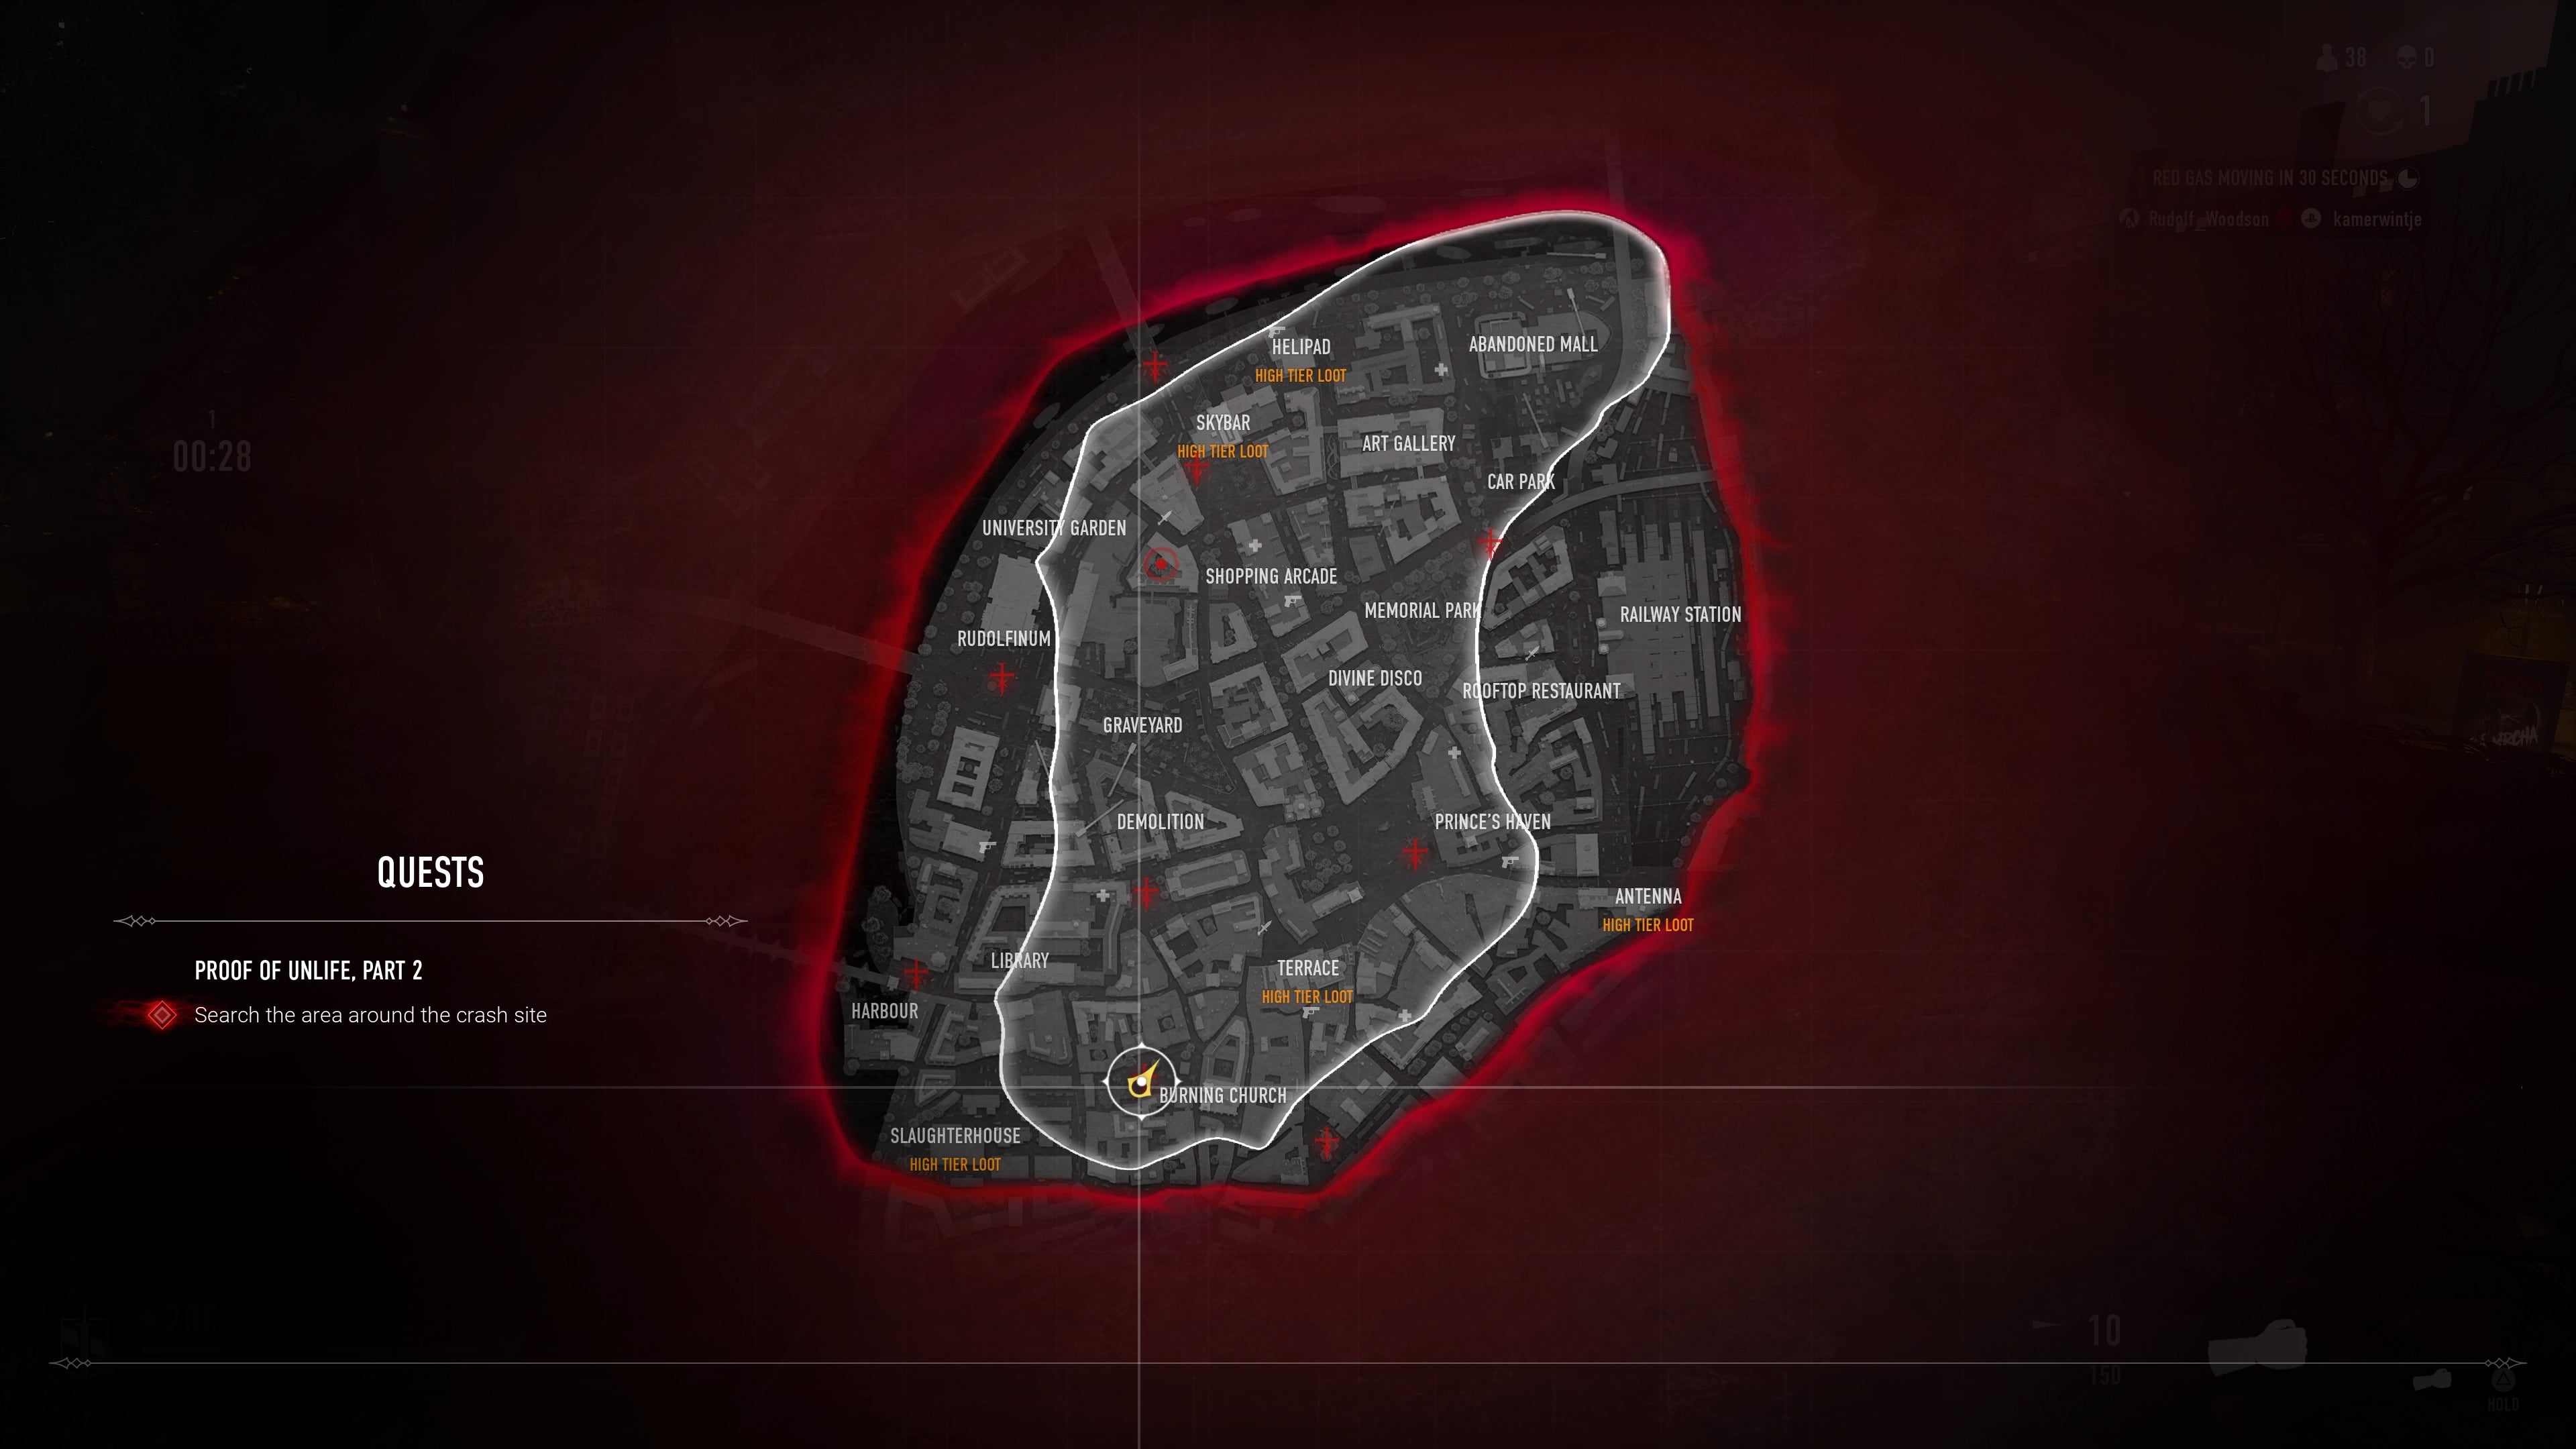
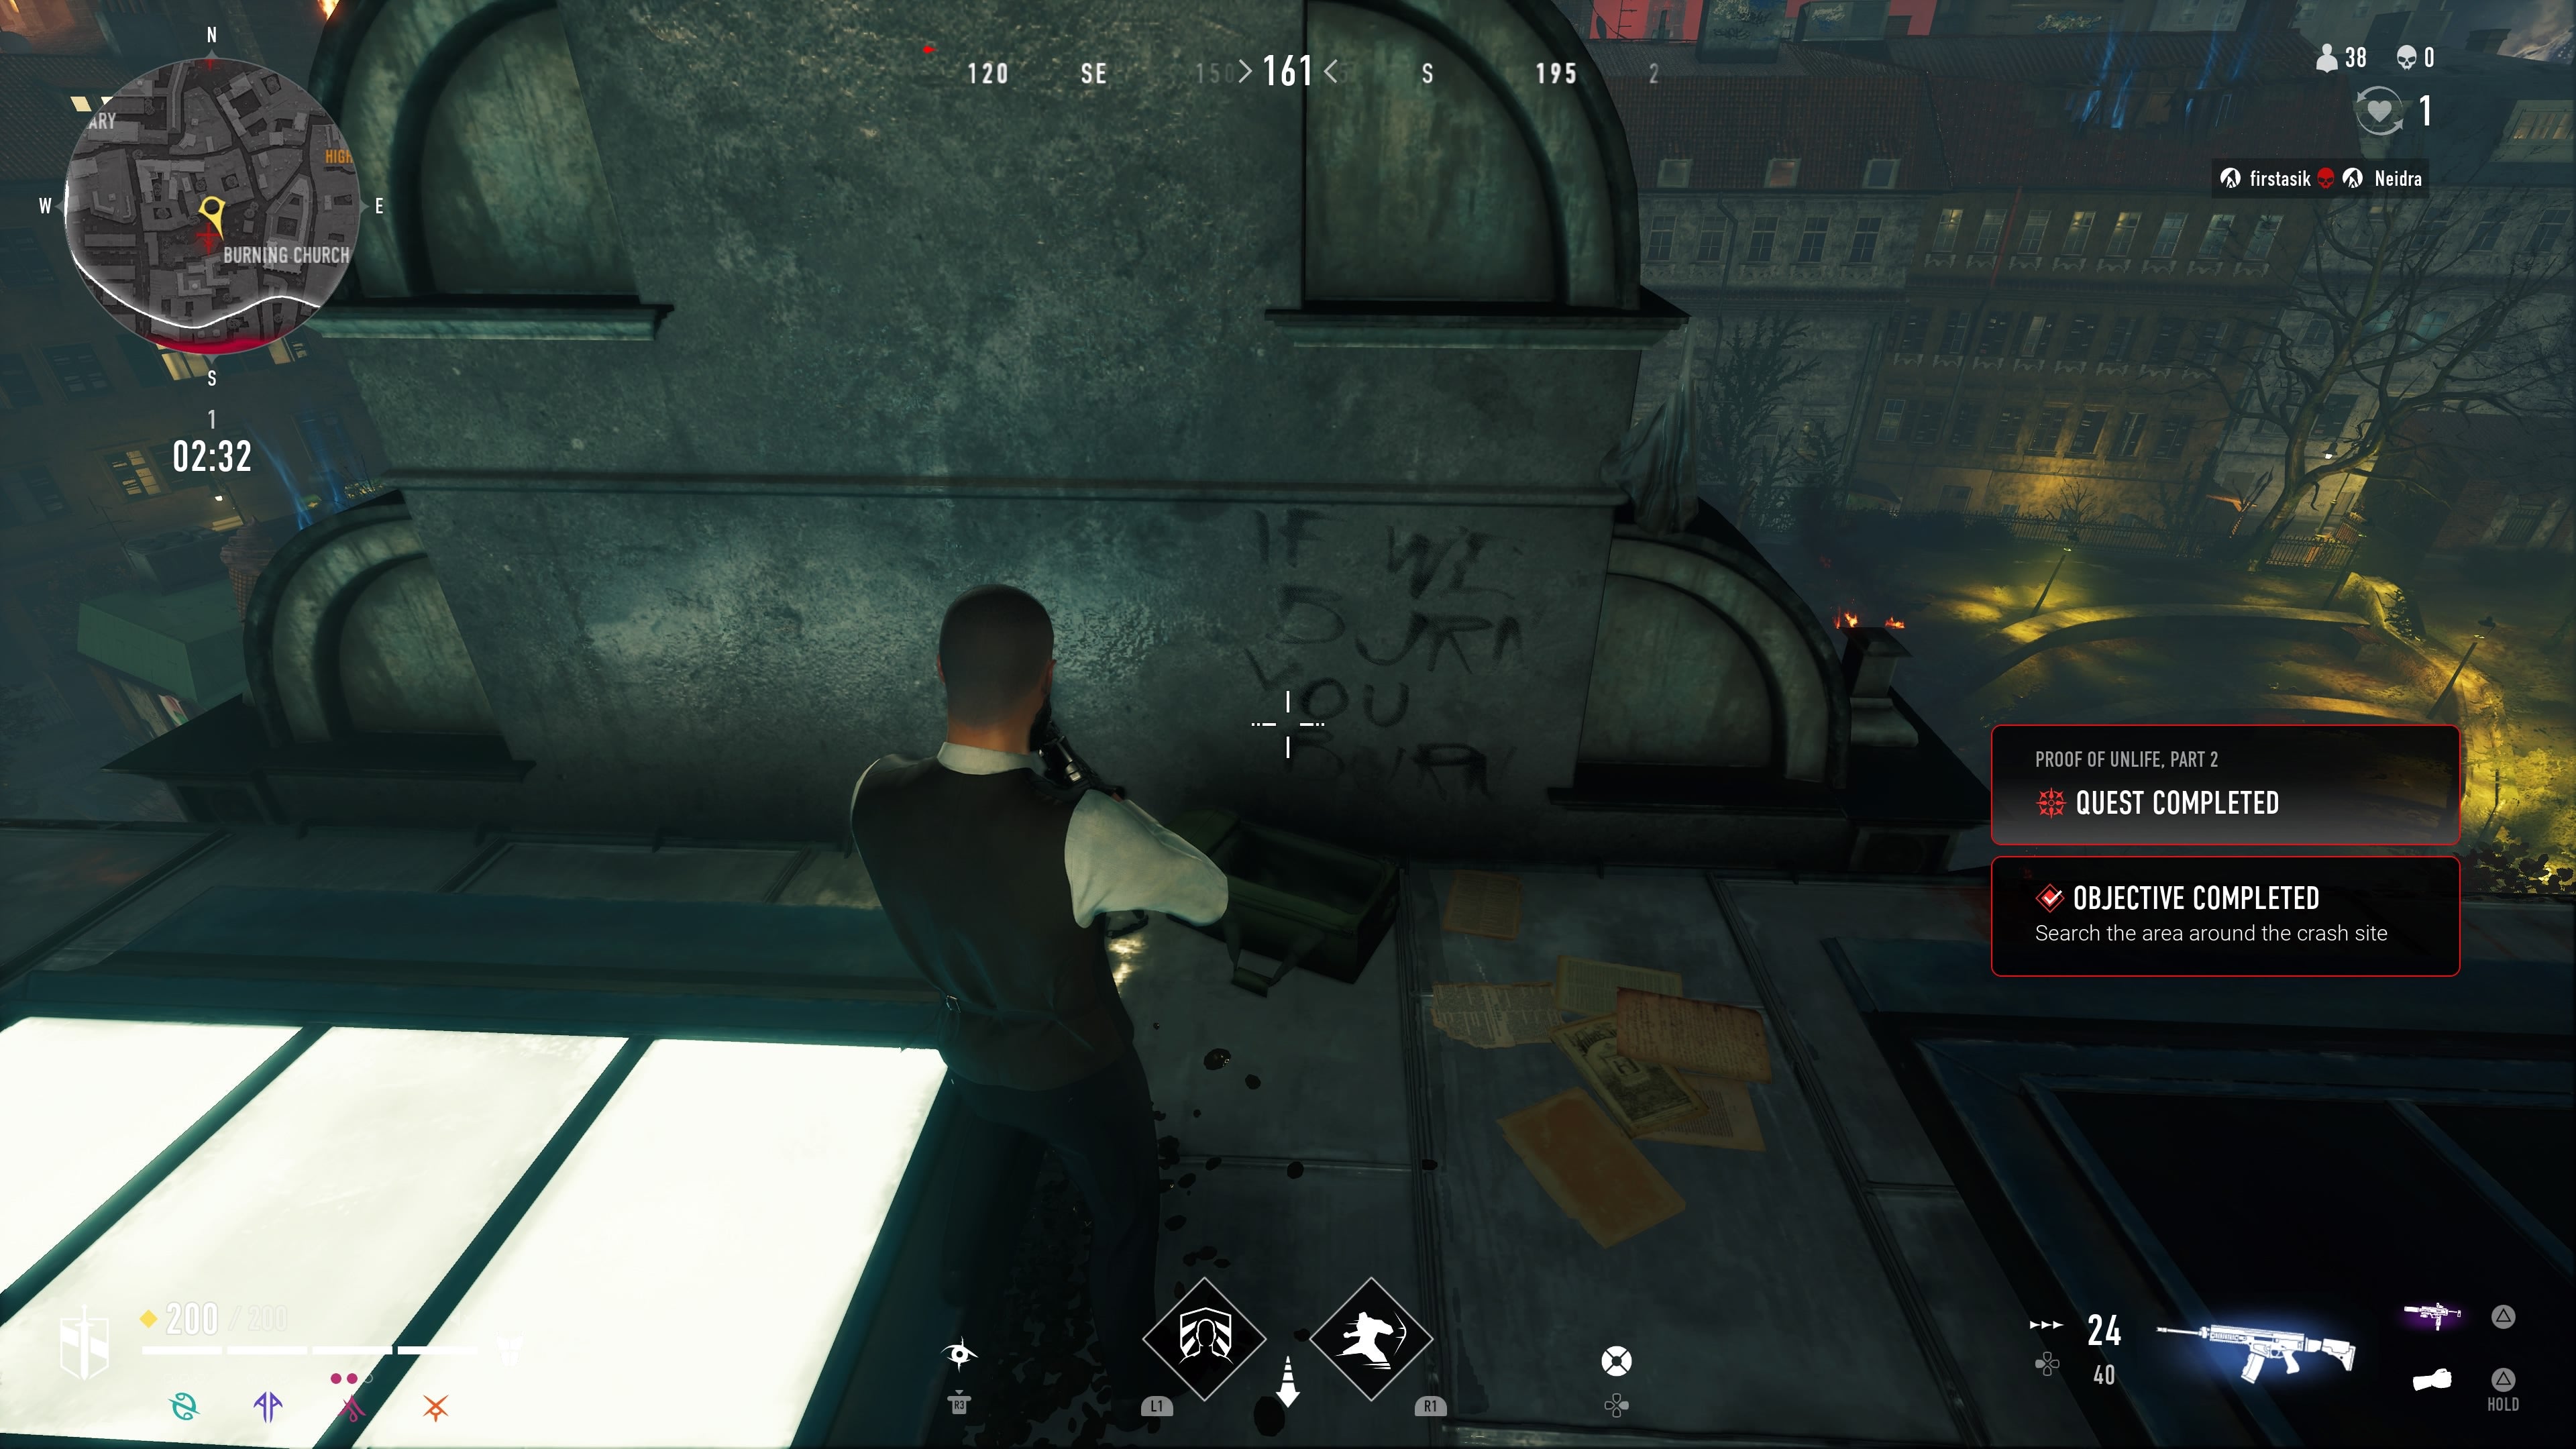
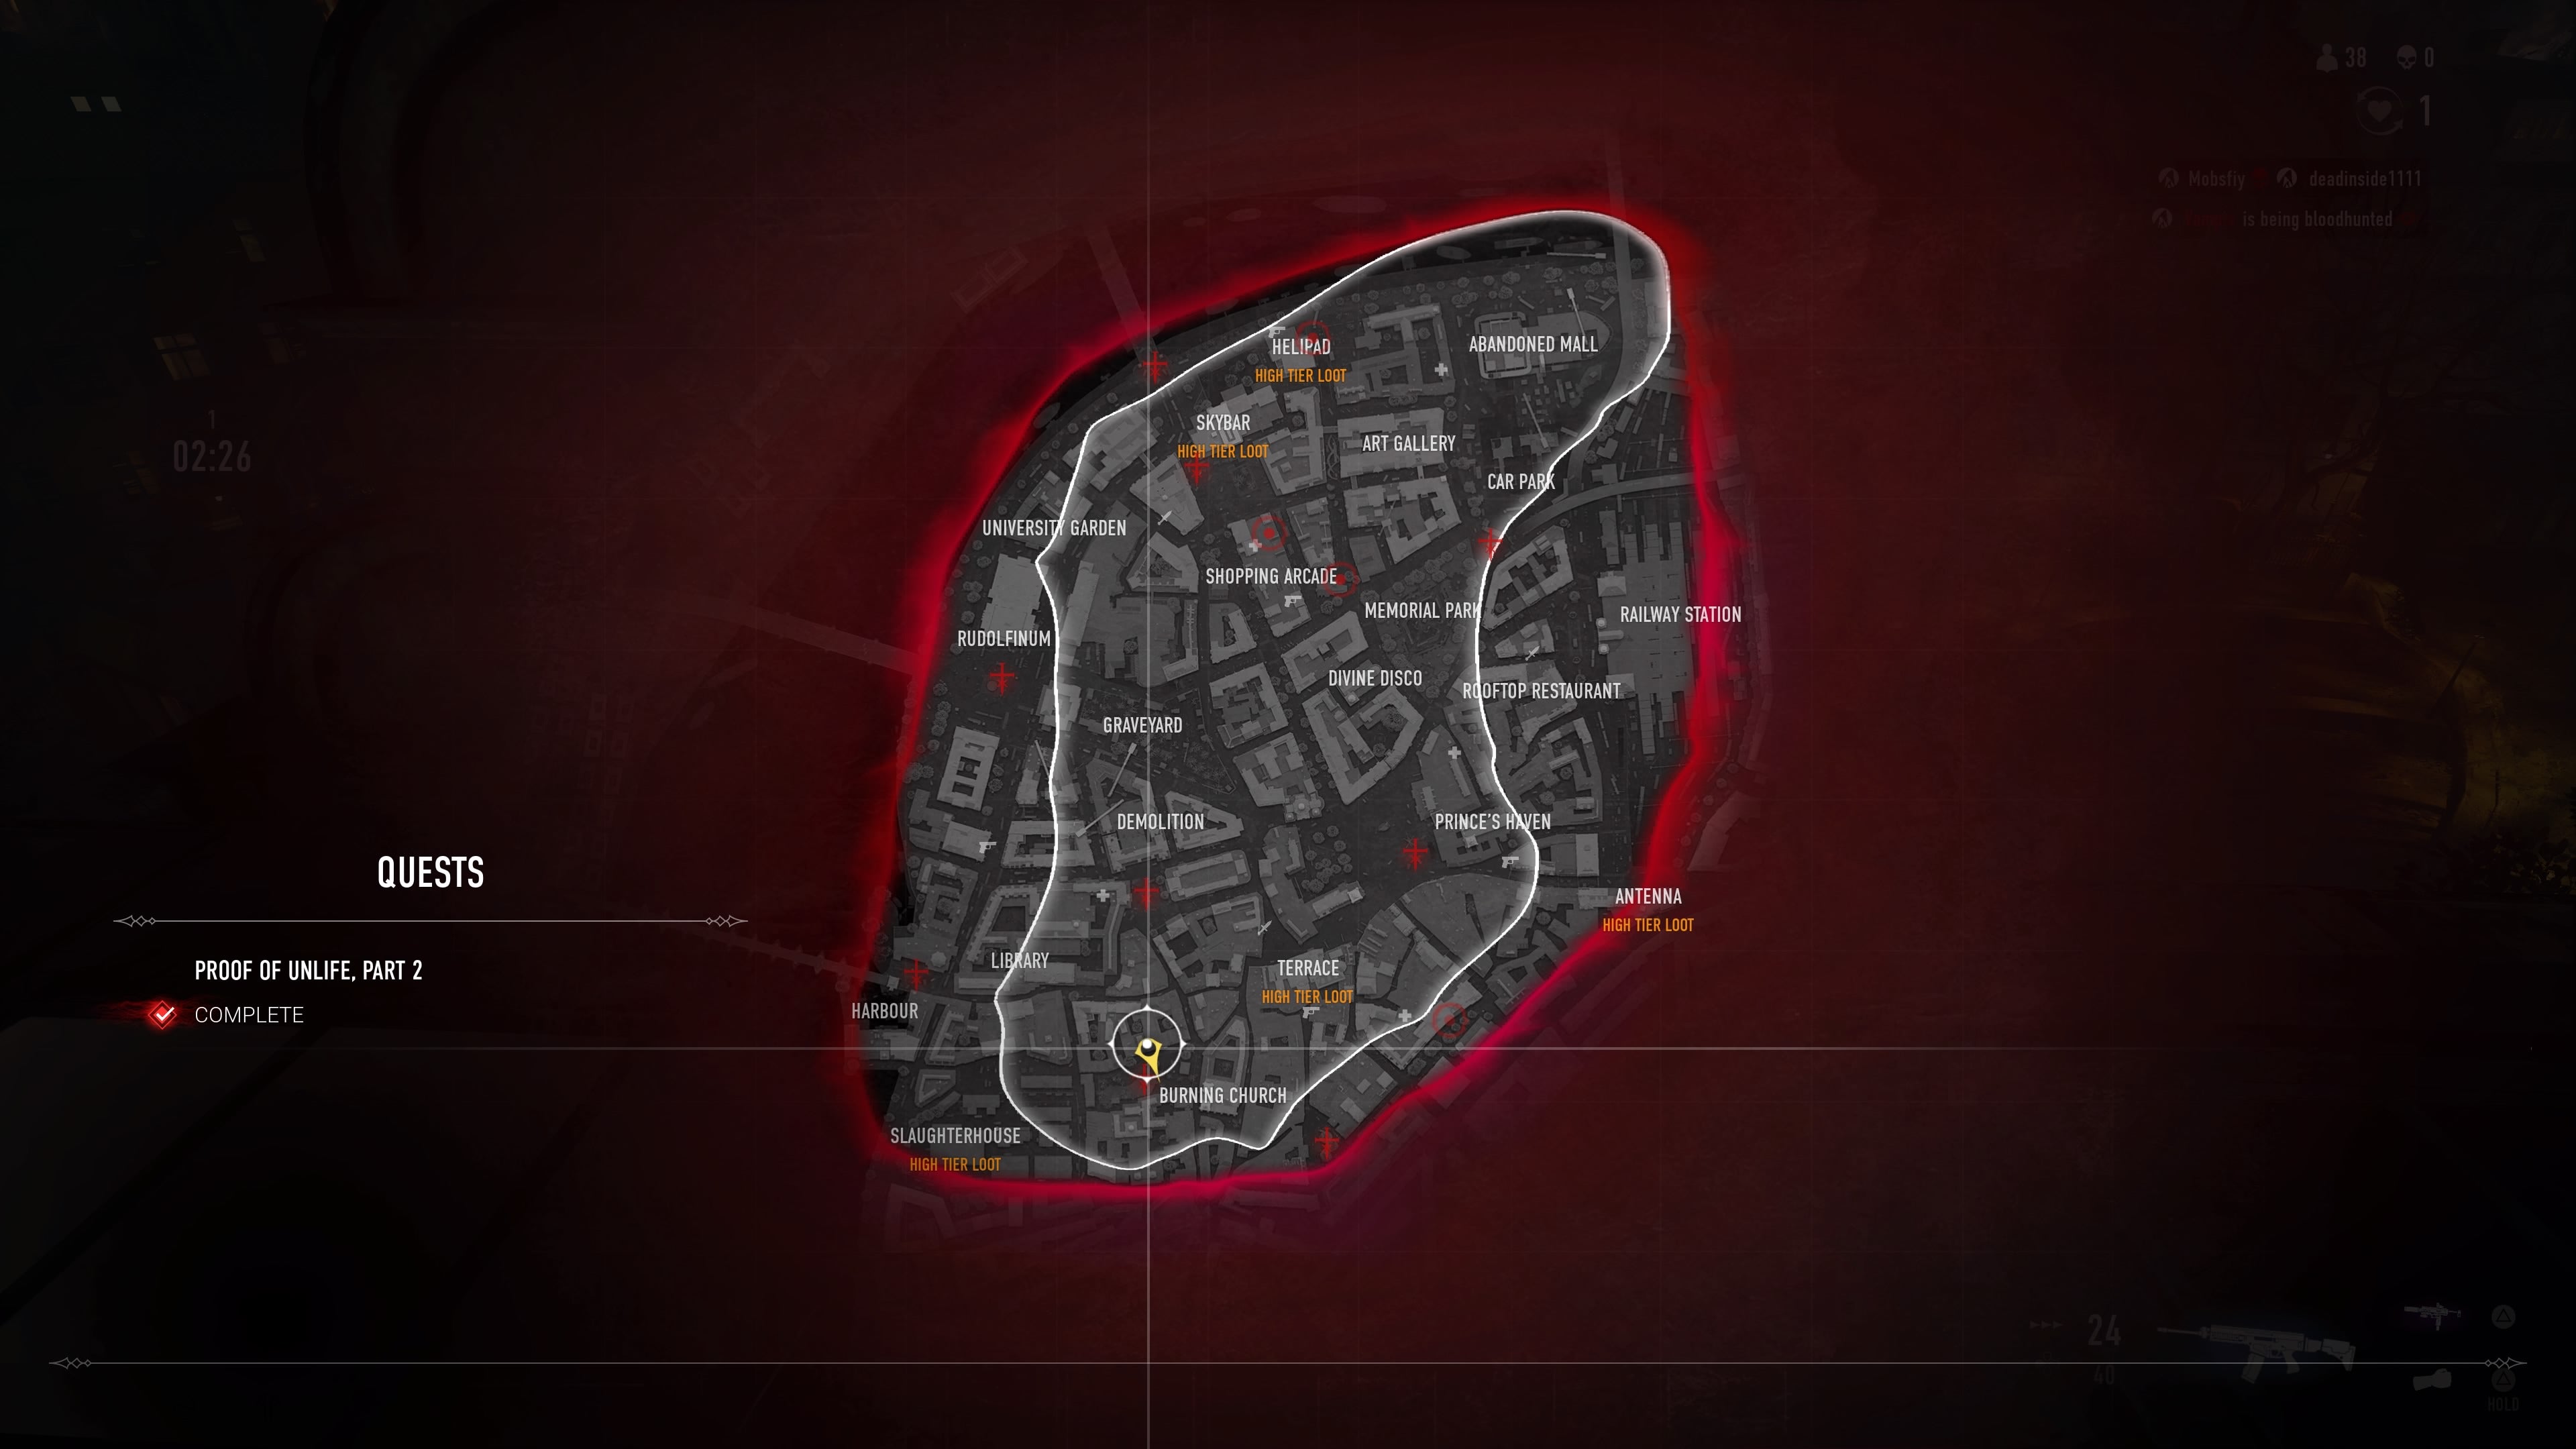
For the second part, make your way back to the crash site between the Slaughterhouse and Burning Church. From there, you want to scale the buildings to the north of the crash site. Run alongside the rooftops with the crash site to your right, until you come across an empty bag on the edge. Get close to this bag, and you’ll complete this part of the quest.
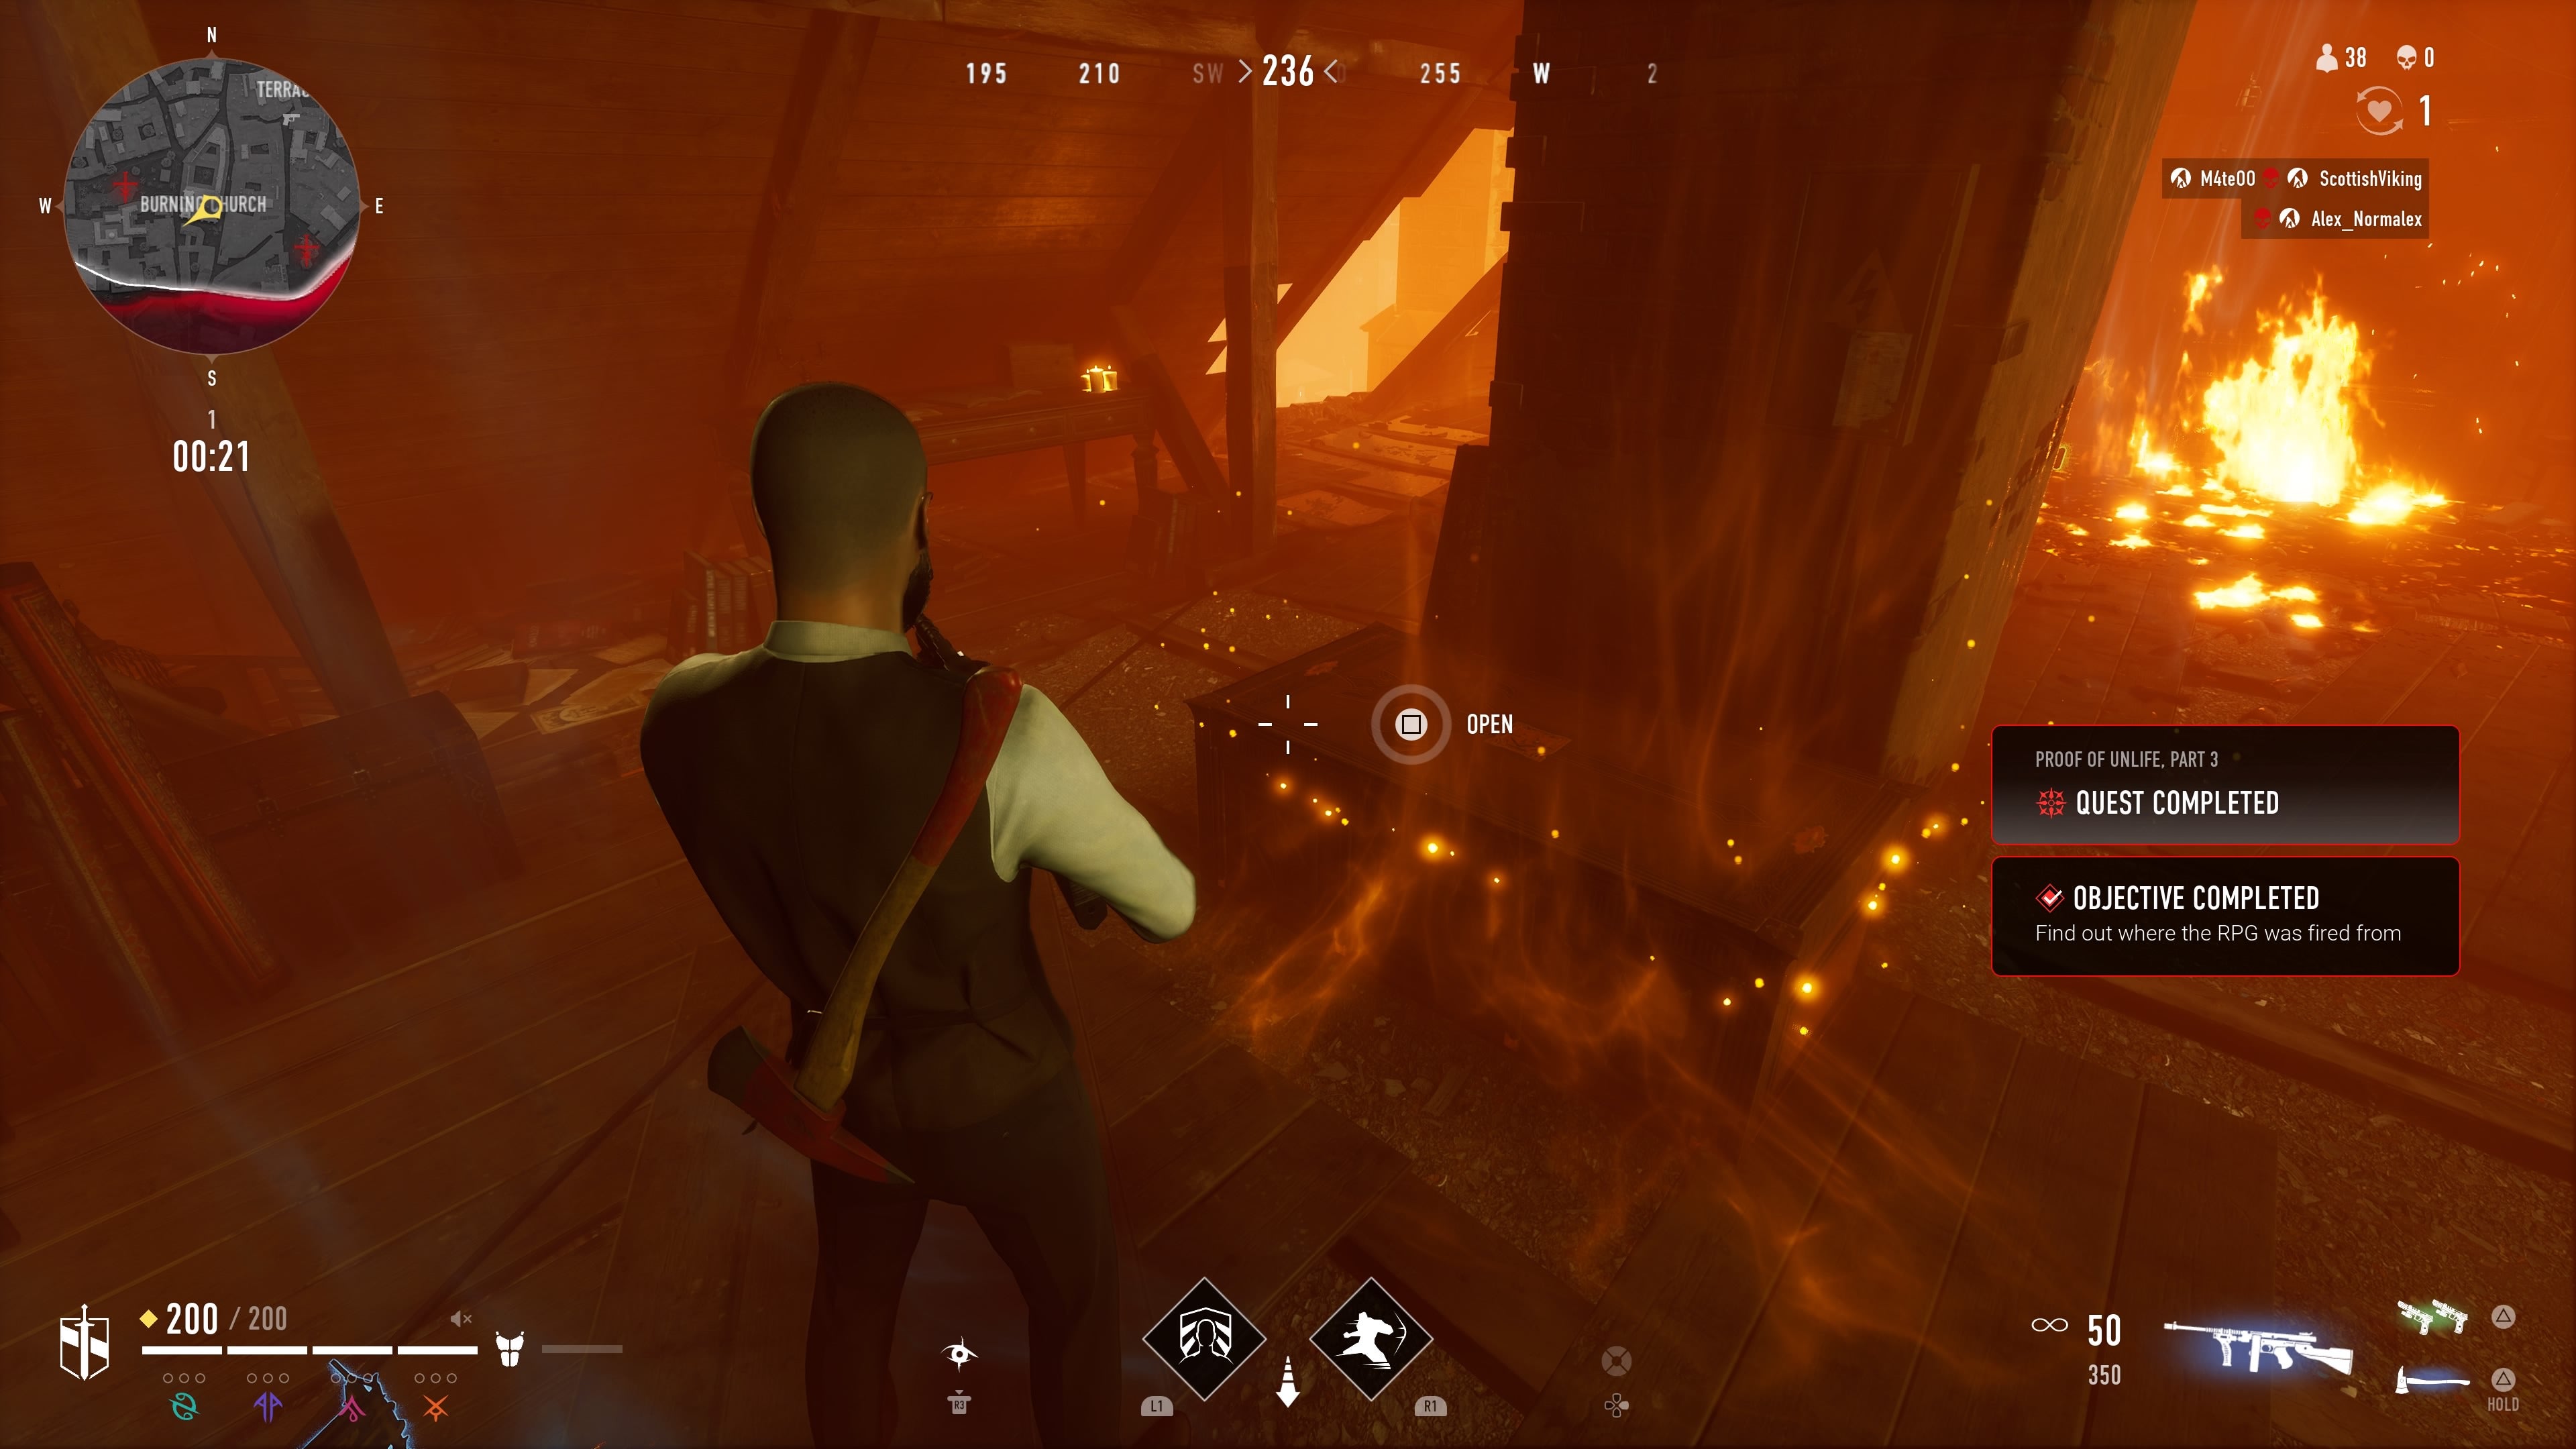
Proof of Unlife part 3: Find out where the RPG was fired from
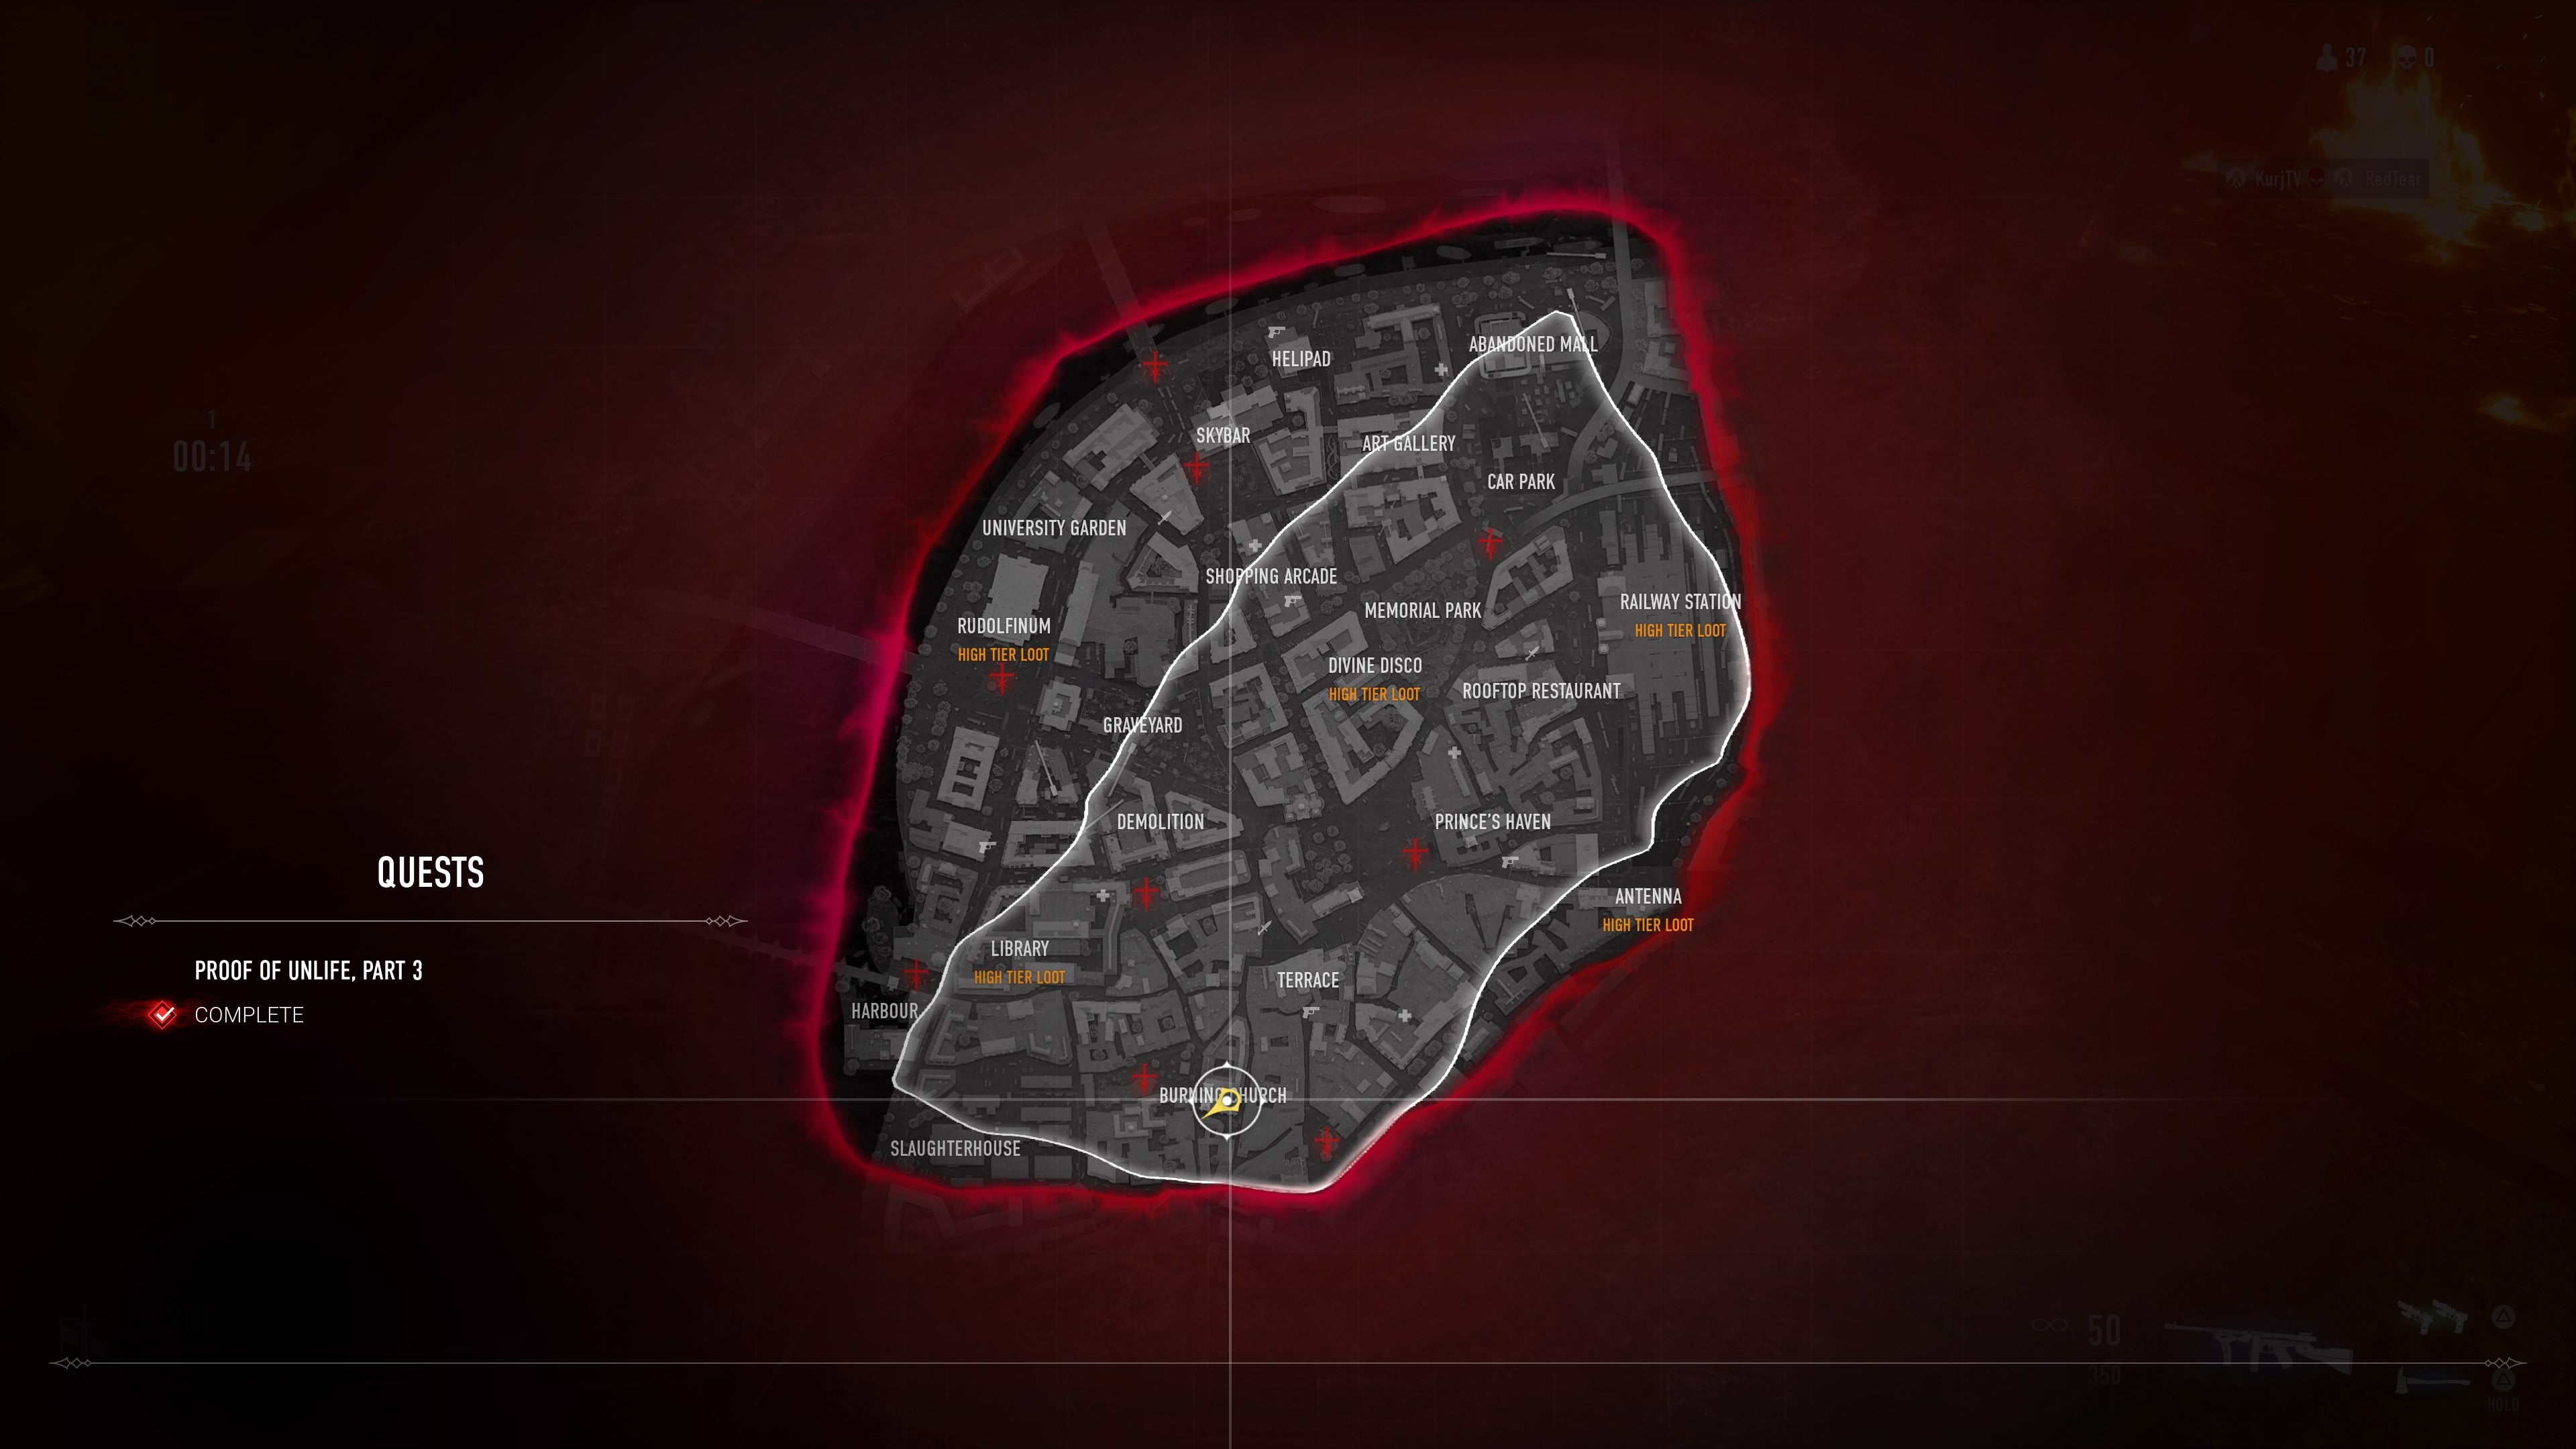
For this part, you want to make your way onto the Burning Church itself. The location you’re aiming for is also a popular spot for players early on, so you’ll want to either rush their immediately or make your way there later on. If you consider yourself an early bird, be sure to spawn nearby. Start climbing up the church until you reach the roof. You should see a hole in the slopped roofing that leads into a hidden room with a golden chest inside. To finish this part of the quest, all you have to do is walk over to the golden chest. If it doesn’t quite work, try walking around the interior some more and it should work sooner rather than later.
Proof of Unlife part 4: Speak to Maia
Our first simple chatting section of the quest chain. Head back to Elysium and talk to Maia. If the quest step doesn’t complete straight away, keep talking to her until you max out their dialogue options.
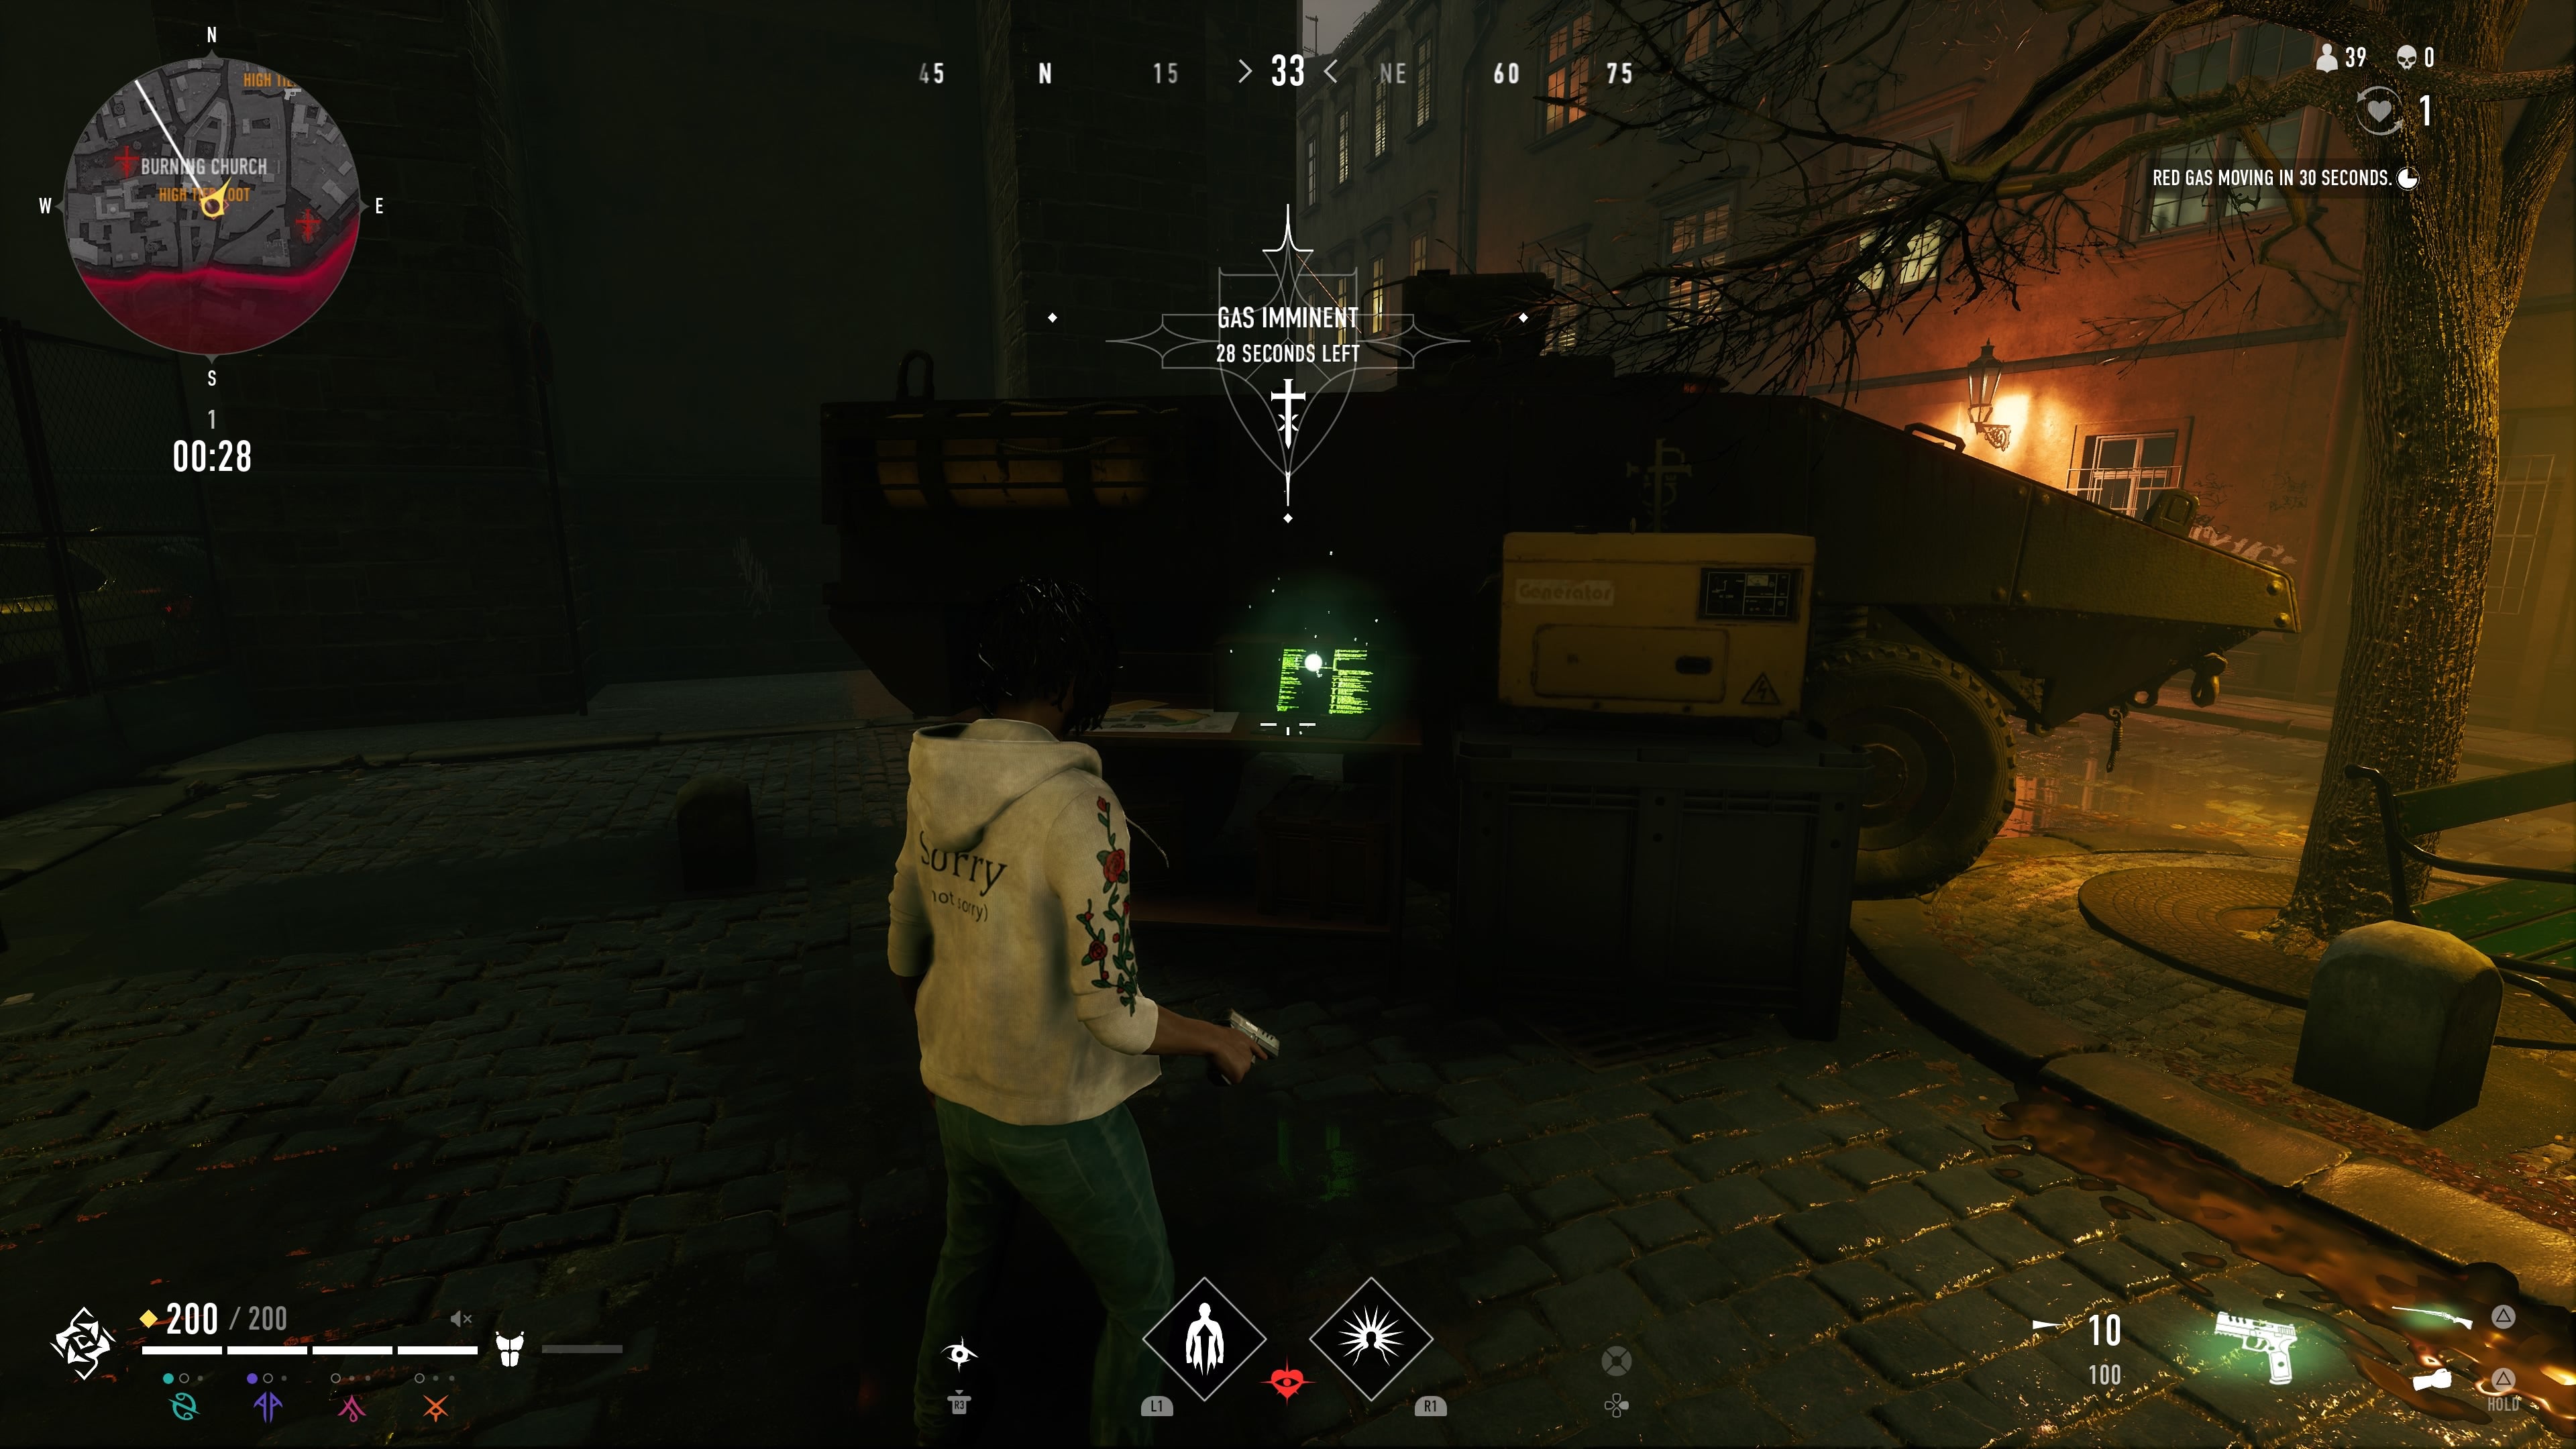
Proof of Unlife part 5: Search for further clues
For this step, we’re headed back to the Burning Church, although thankfully there’s no climbing around fire this time around. Spawn near the church once again and make your way directly south of the main structure. Once there, drop down to street level. You should find an armoured Entity vehicle with a laptop next to it. The quest item you’re looking for can be found on this laptop.
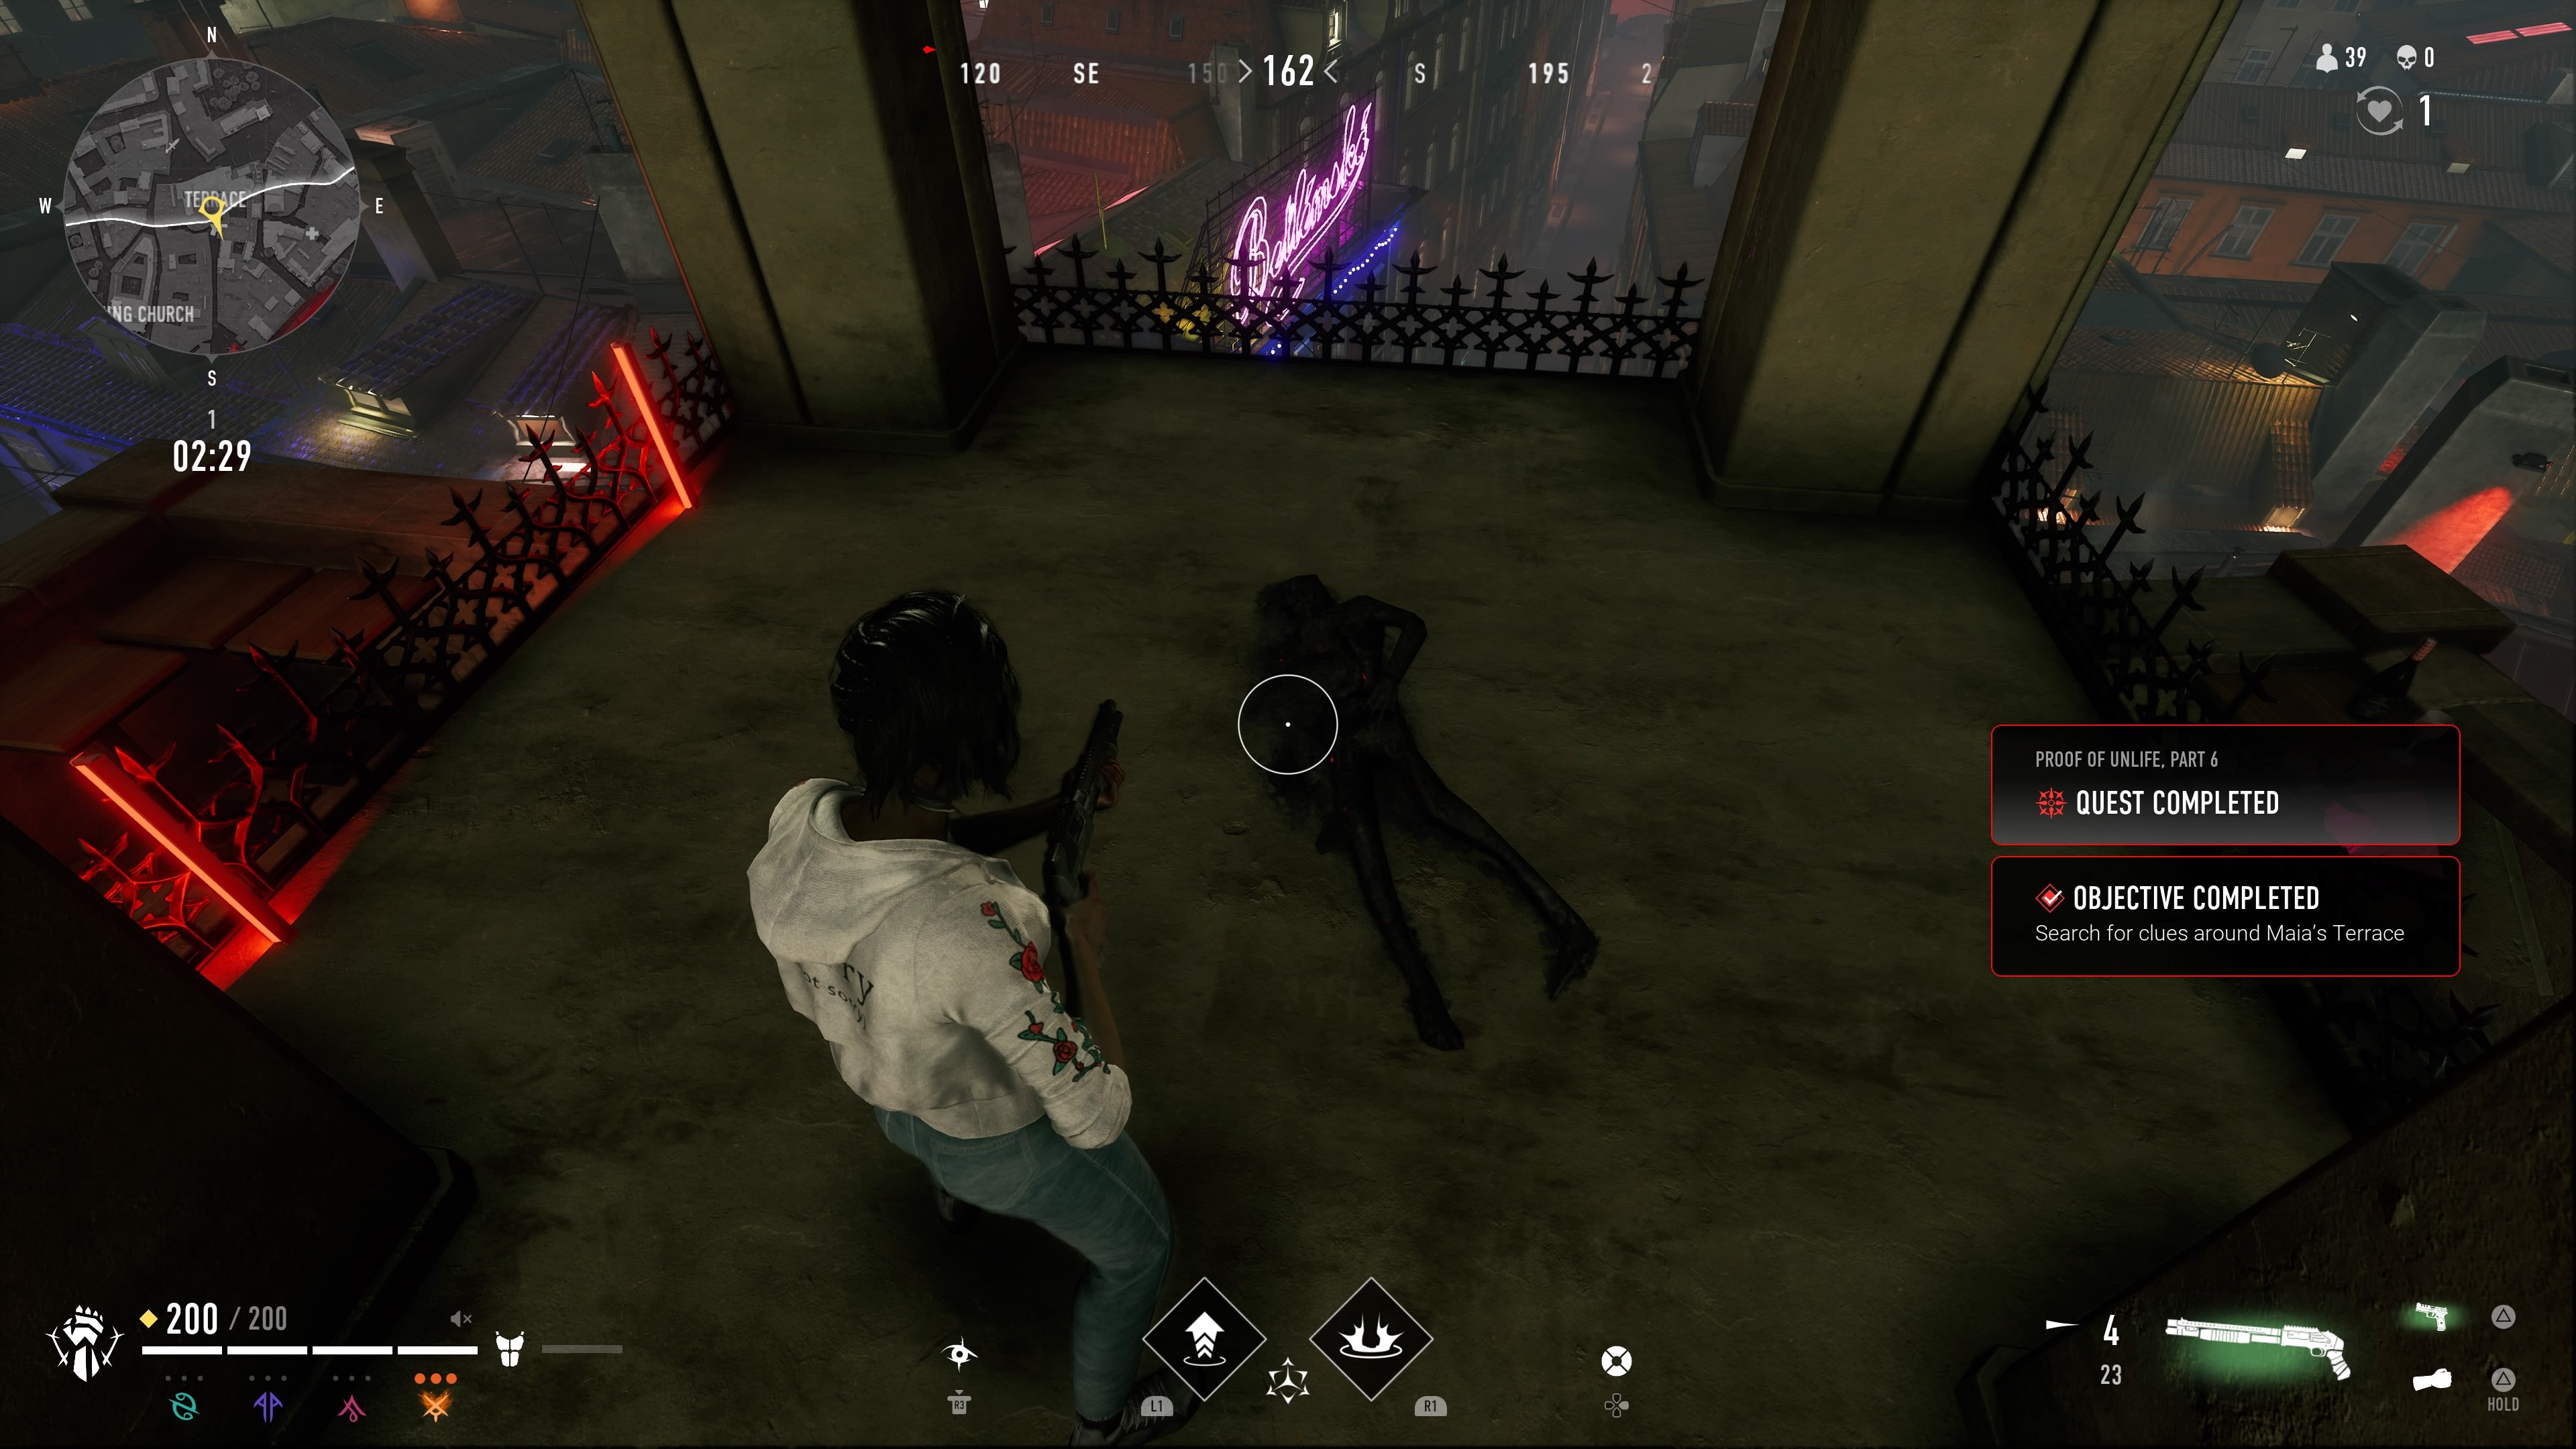
Proof of Unlife part 6: Search for clues around Maia’s Terrace
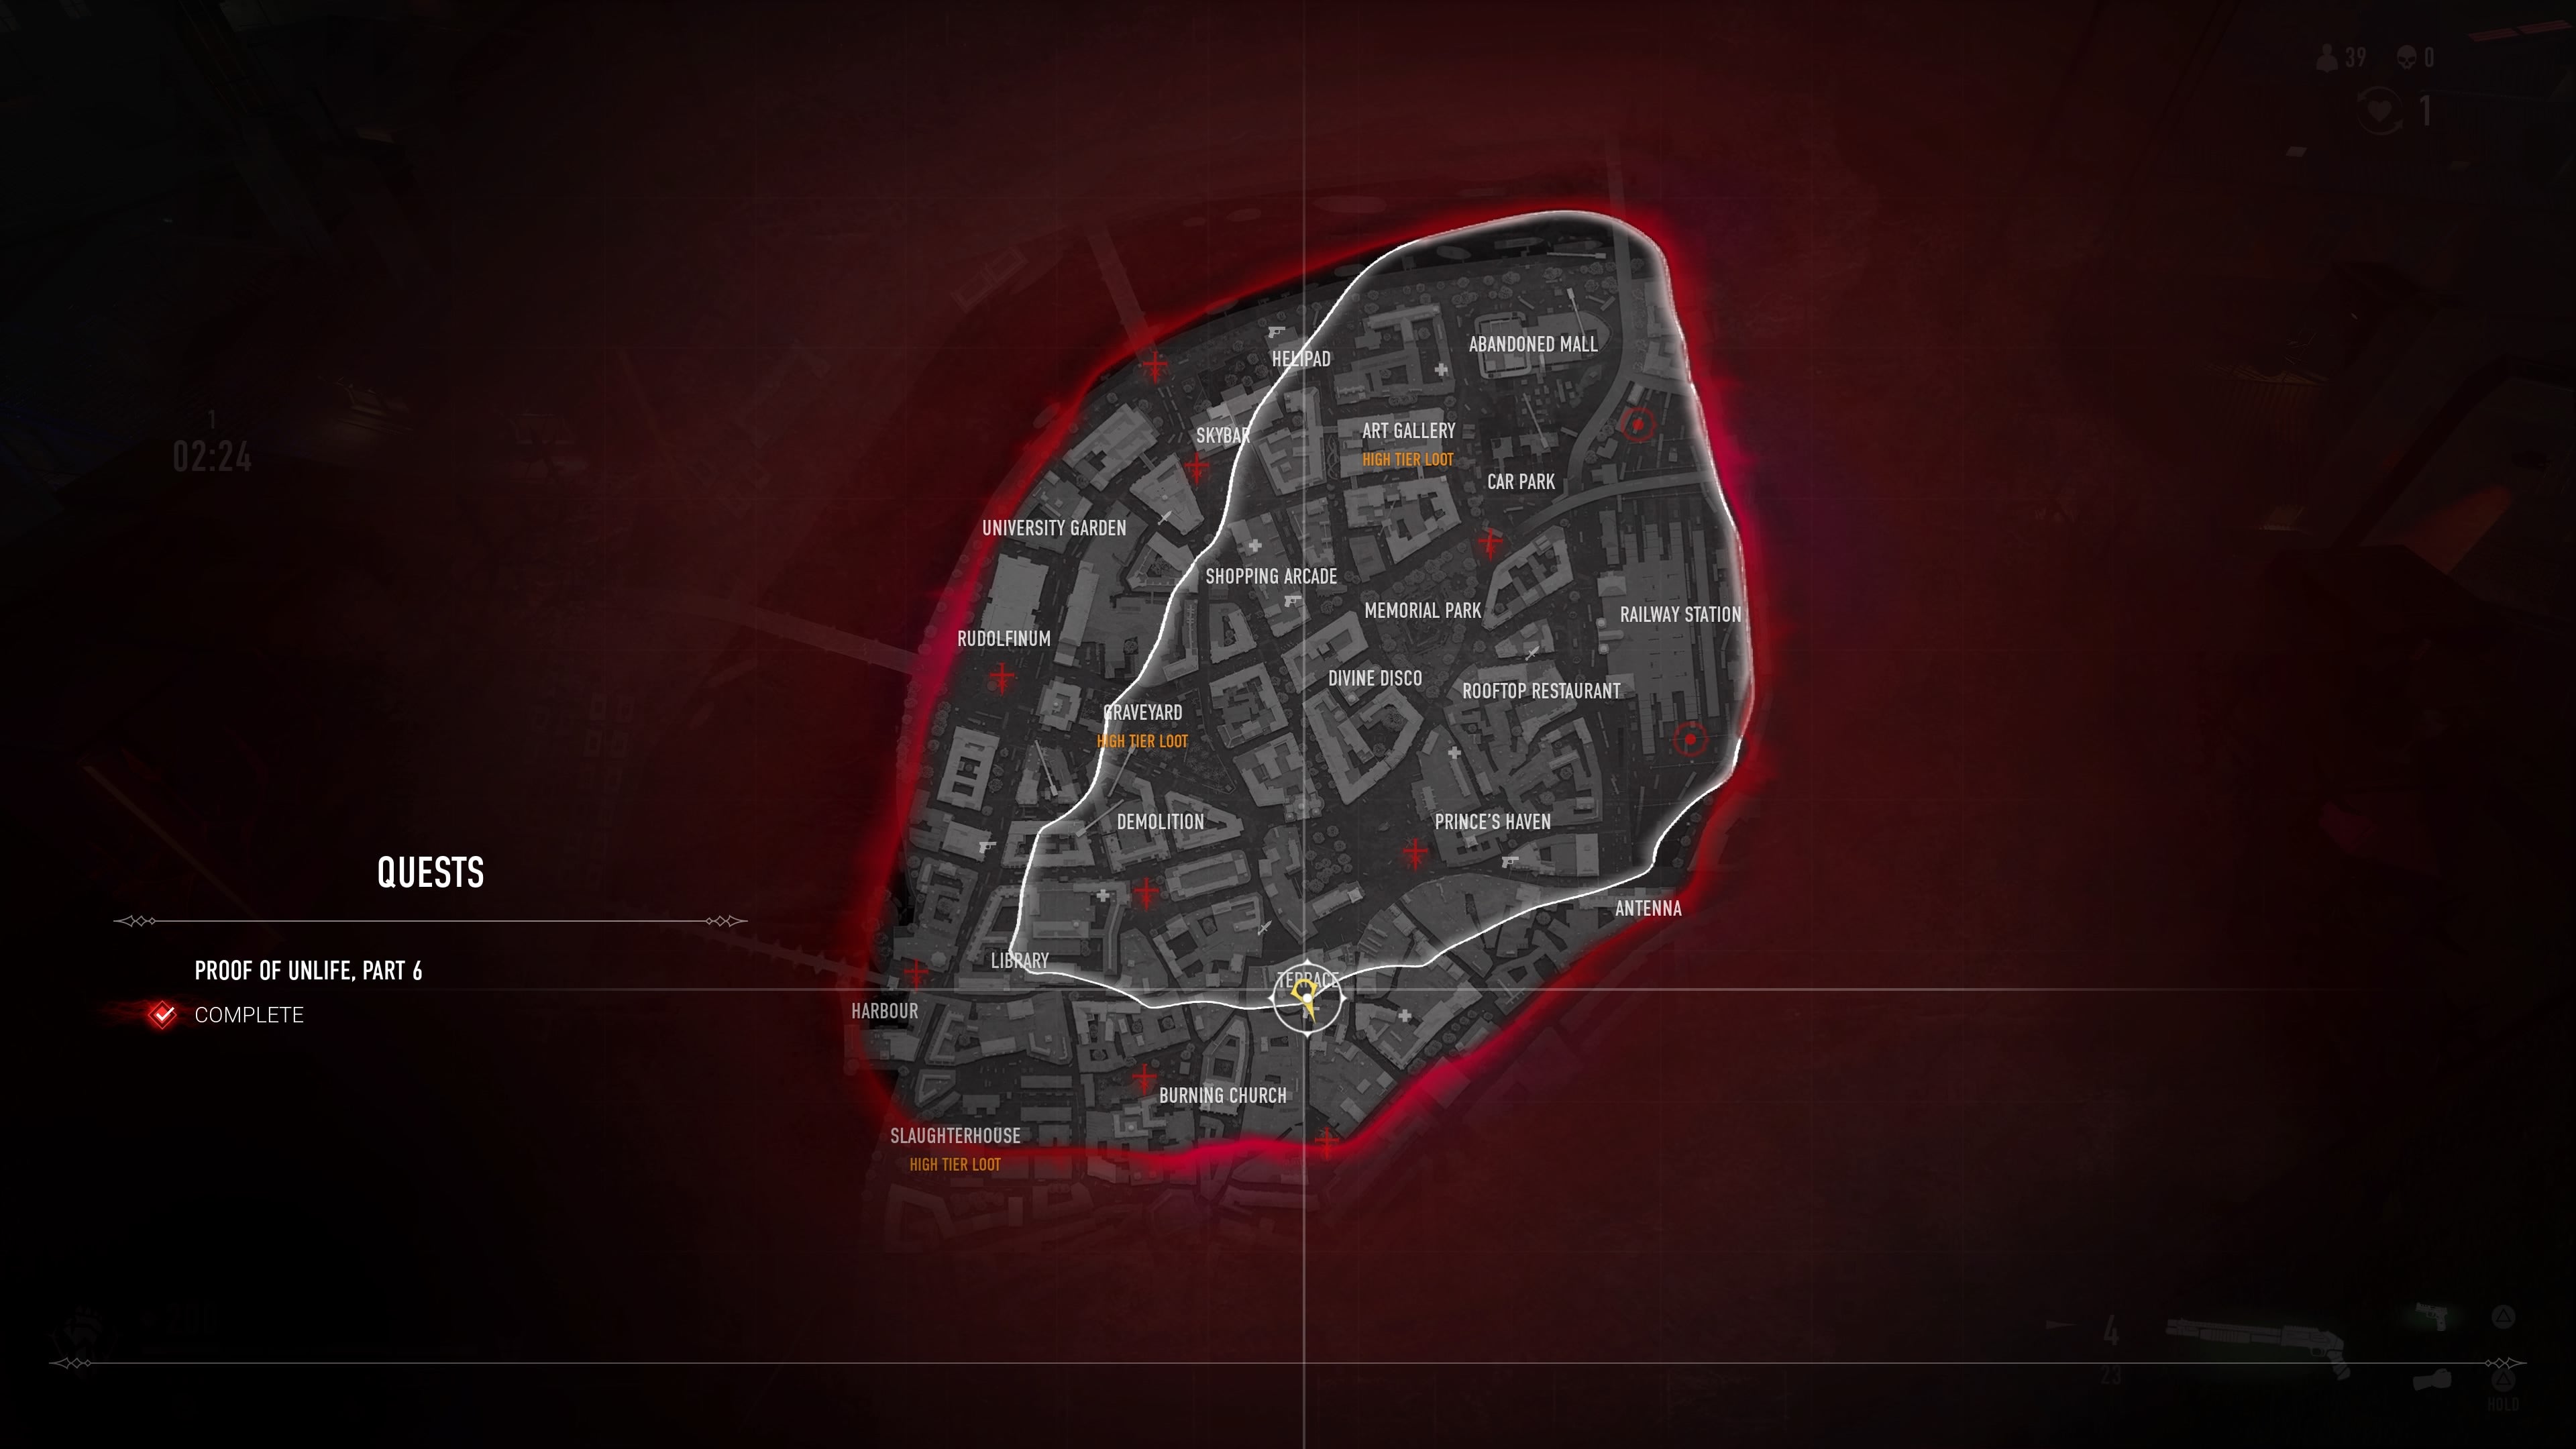
This step grants us a change in scenery, as we’re shifting from the fires of the church to the Terrace found to its north east. This step requires you to walk to a specific spot, so start off by making your way to the landmark and don’t worry about tracking down any items once you’ve made it. Once there, climb to the top of the Terrace and look south. You should see a small tower with a open platform you can jump onto. Do so, and you’ll see a burned body on the floor. Walking over this body should trigger the completion of this quest step.
Proof of Unlife part 7: Speak to Kirill
Our second and final chatting part. Return to Elysium and go over to Kirill’s bar. Once there, chat to the guy and the quest step will complete. Again, if it doesn’t work right away be sure to max out all his dialogue and it should trigger the final step of the quest chain.
Proof of Unlife part 8: Search for the Ammo crate
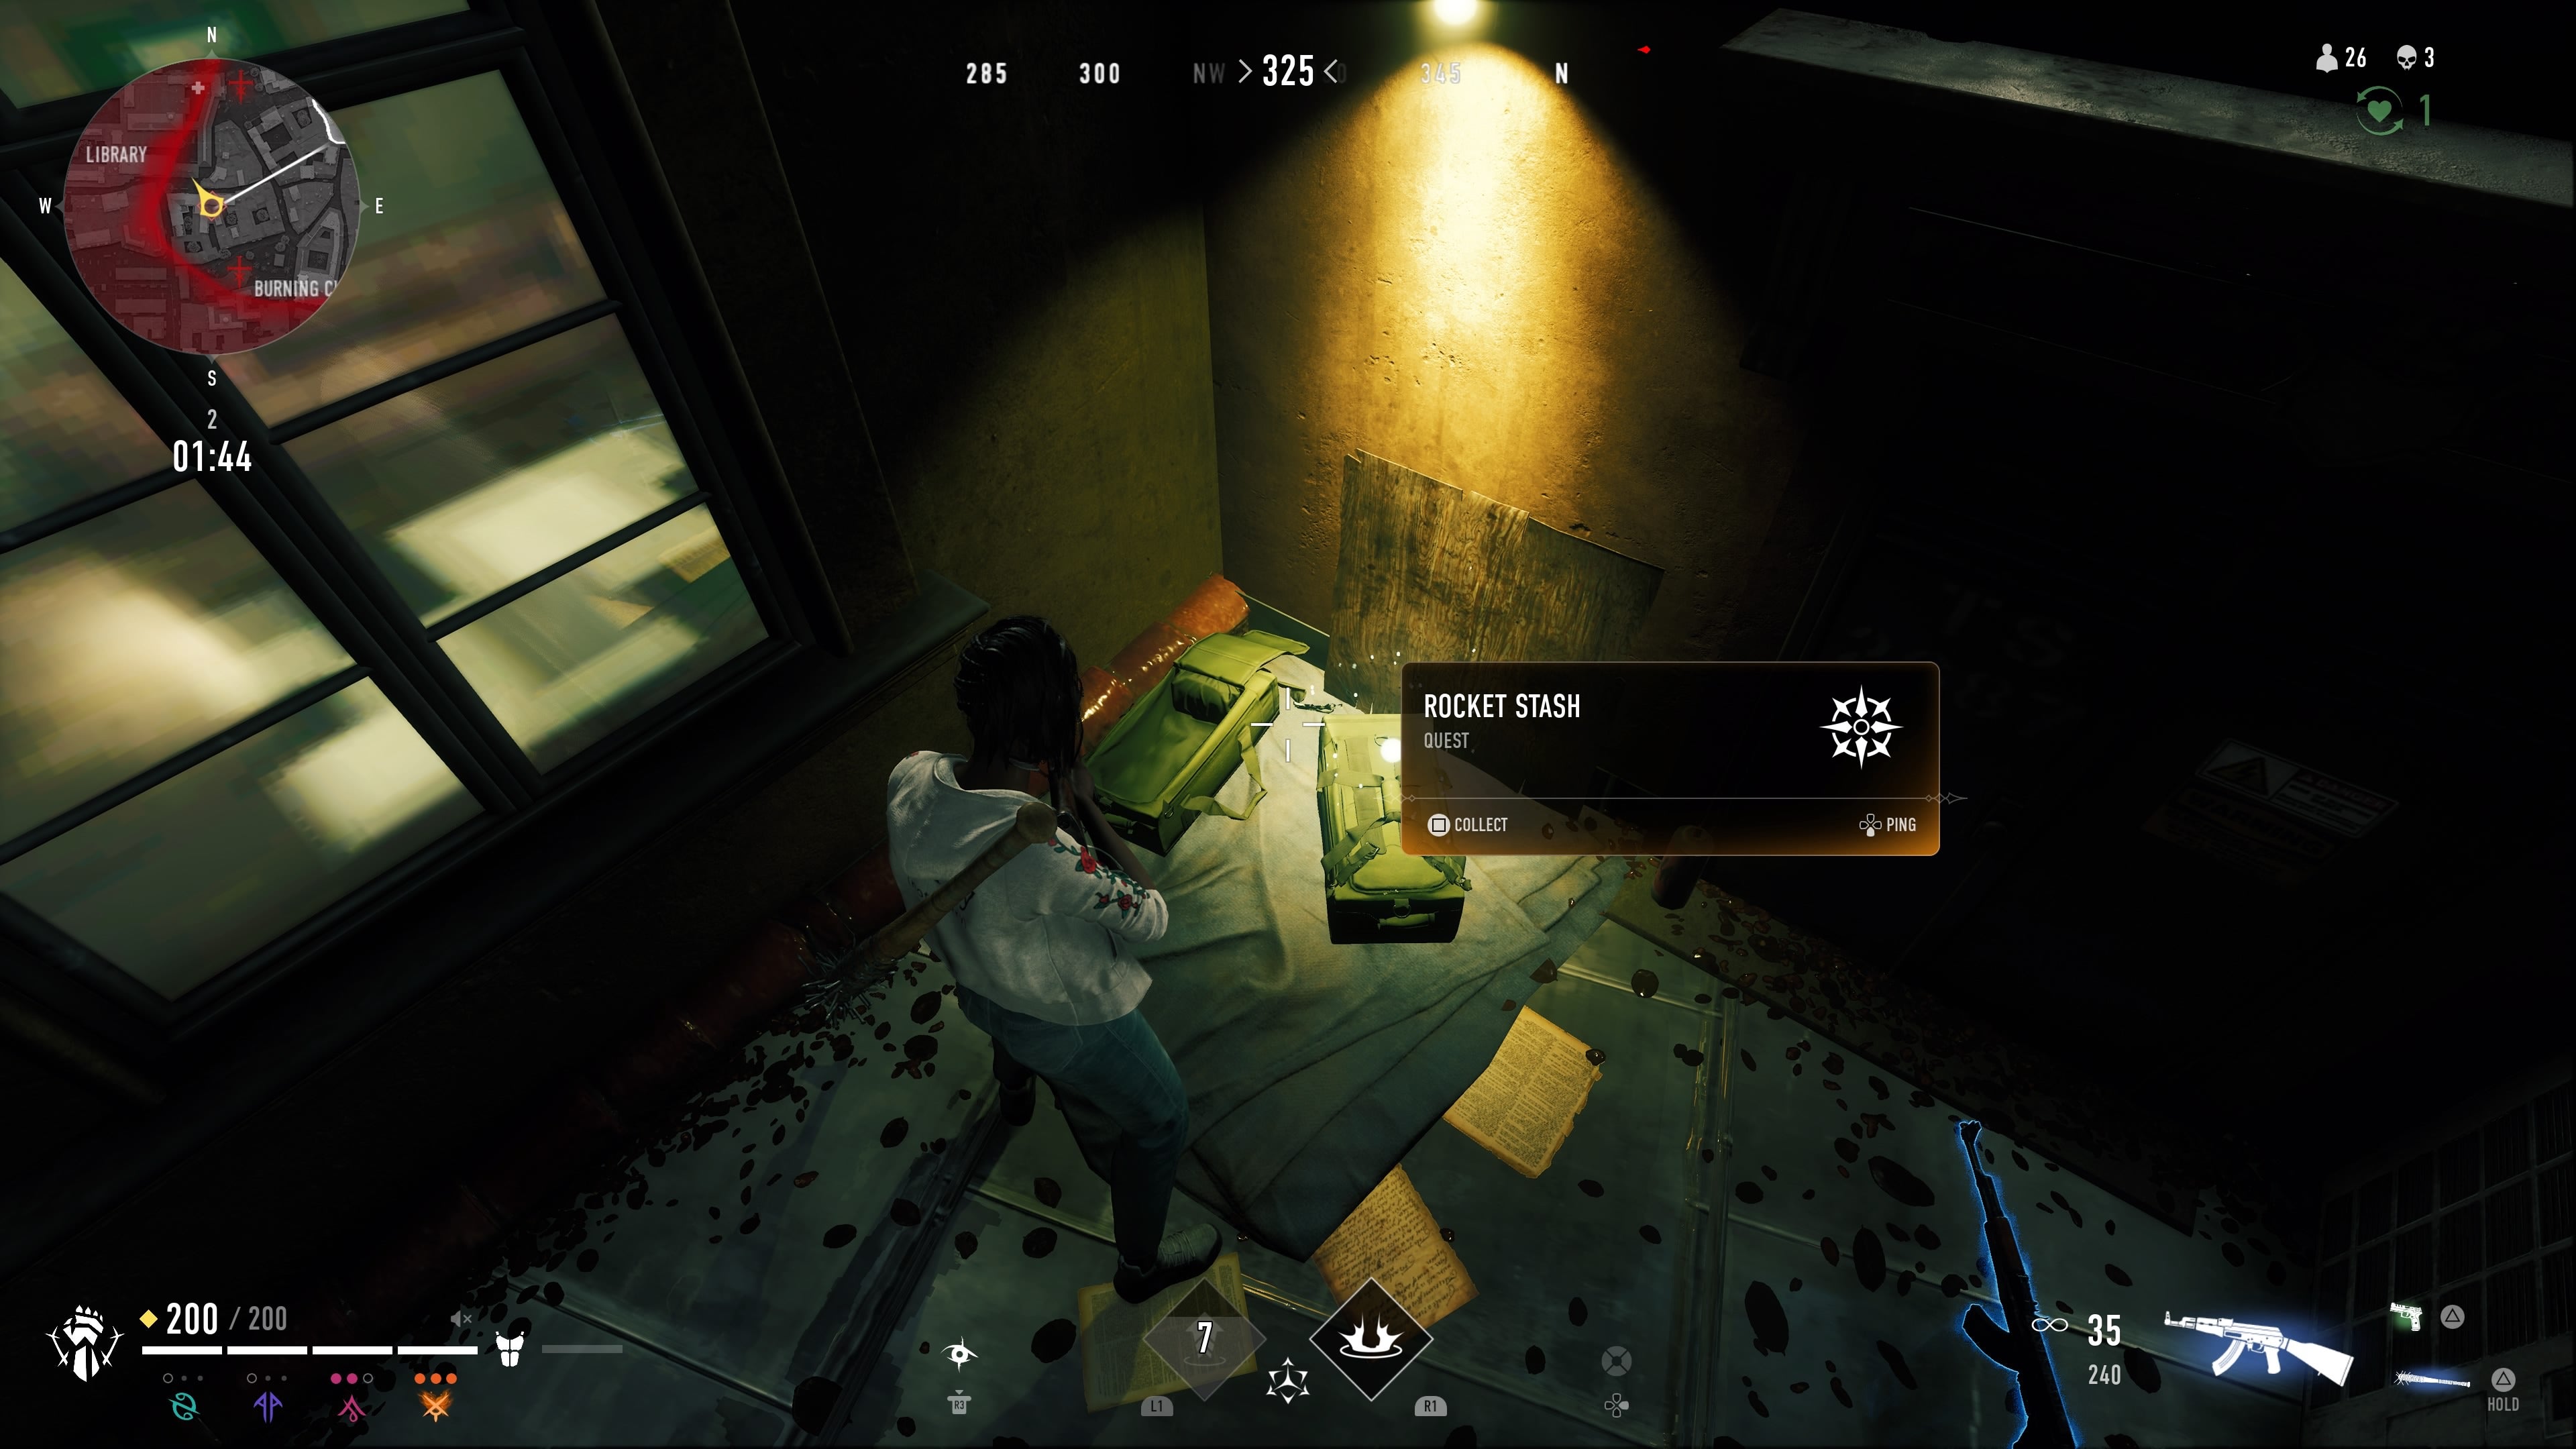
We’ve finally made it to the final stage of Proof of Unlife! For this, you’ll want to head north west of the Burning Church. The rough area you’re aiming for is halfway between the church and the Library. Once you’ve made it to the rough area, you’ll want to climb onto the rooftops. Once there, you’ll want to stick to the north edge of the buildings until you come across a lower level next to a loot spot. What you’re looking for is two green boxes illuminated by a light bulb. Once there, pick up the quest item and you’re done. That concludes our guide on Proof of unlife quest walkthrough. For all our other Bloodhunt guides, check out the beginner hub for everything you need to know about the game. If you’re in the mood for an interesting read, we also have an interview on the technical aspect of the game: “In-your-face functionality and immersion” Why Sharkmob chose PS5 for Vampire Bloodhunt’s lead platform.
