You can access this dungeon from the beginning of Elden Ring, with Dragonburnt Ruins being home to a trapped chest that teleports you here. However, the enemies here can be quite ruthless as you’re starting out in The Lands Between. That being said, unless you’re planning to grab an item and flee, it’s best to try and face this dungeon when you’re a much higher level than what you might be when starting out in Limgrave. The Fallingstar Beast proves to be quite the challenge. If you’re up to the challenge, we’ve guided you through Sellia Crystal Tunnels, all of the interesting loot on offer, and how to beat the Fallingstar Beast.
Sellia Crystal Tunnel Items
Cracked Crystal Smithing Stones Somber Smithing Stones Gravity Stone Fans Gravity Stone Chunks Cuckoo Glintstone Rock Blast Rock Sling Dragonwound Grease Faithful’s Canvas Talisman Somberstone Miner’s Bell Bearing (1)
How to tackle Sellia Crystal Tunnels
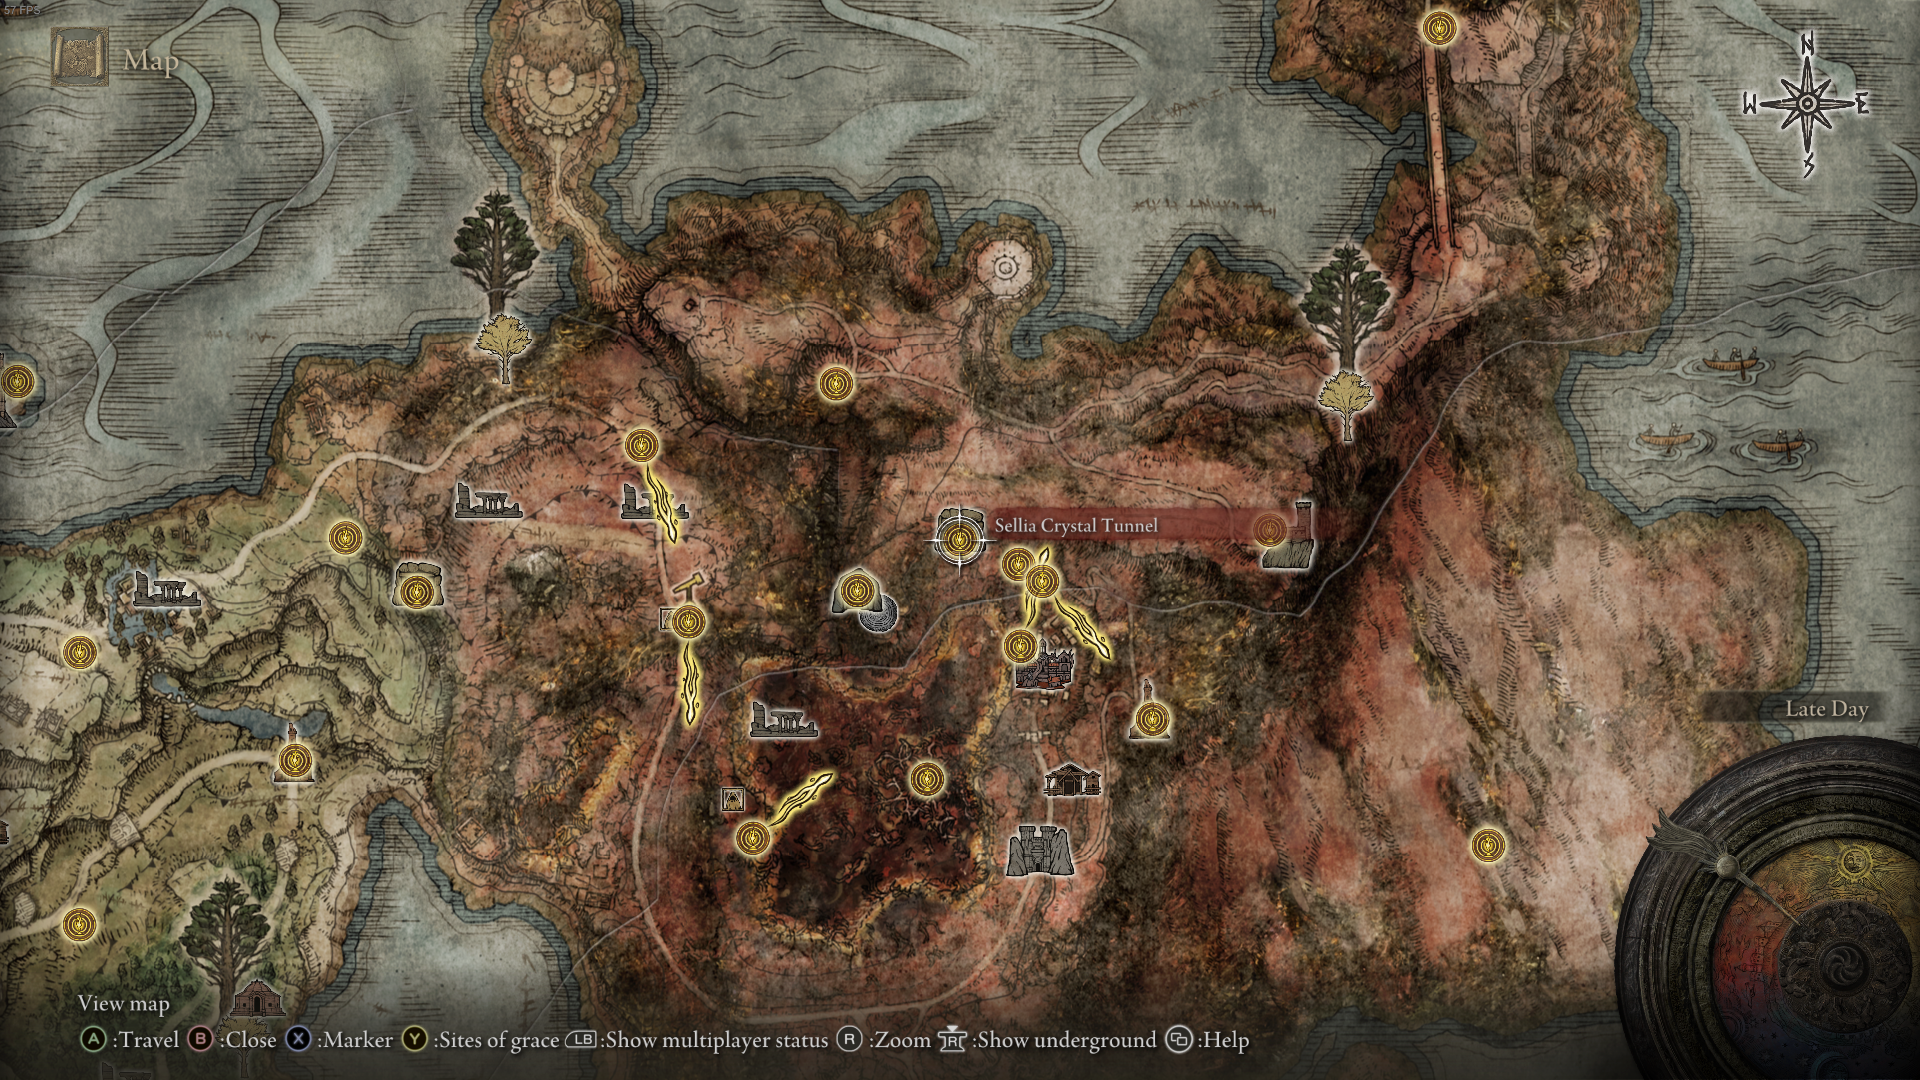
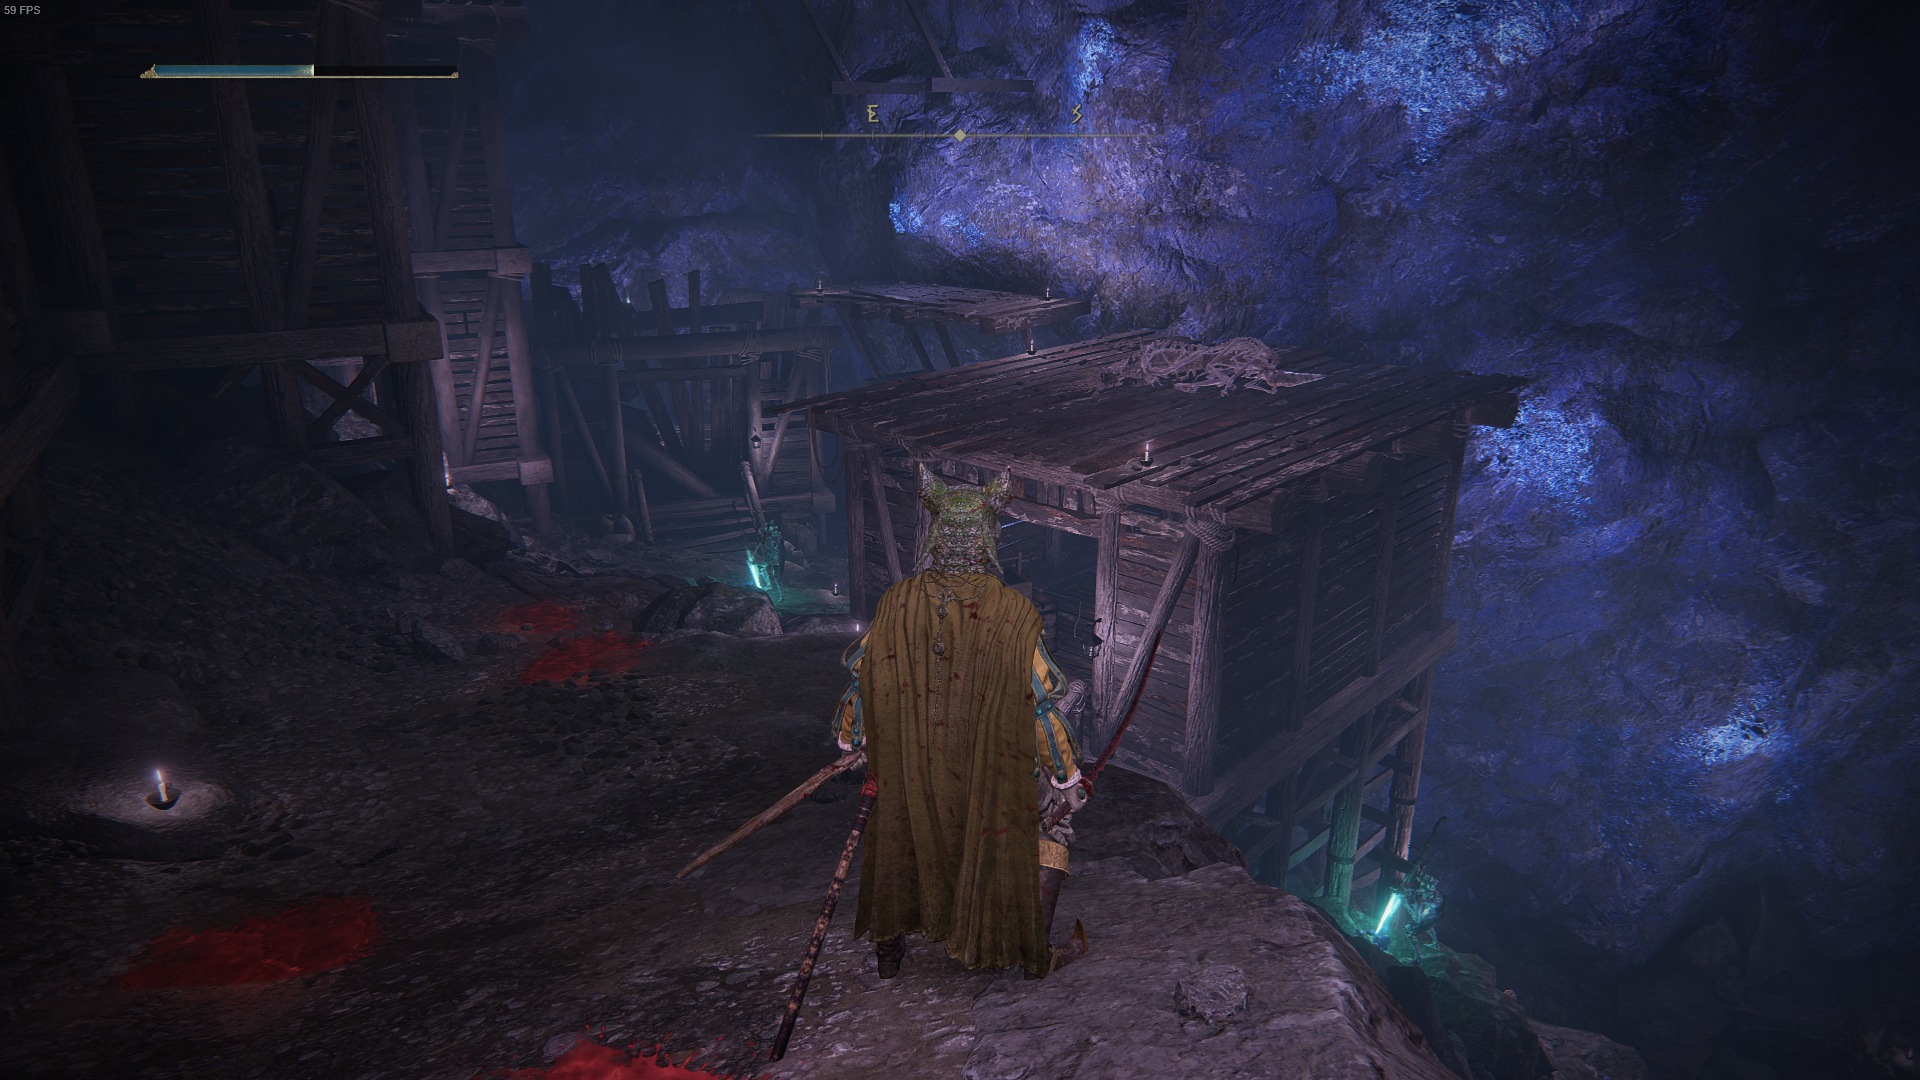
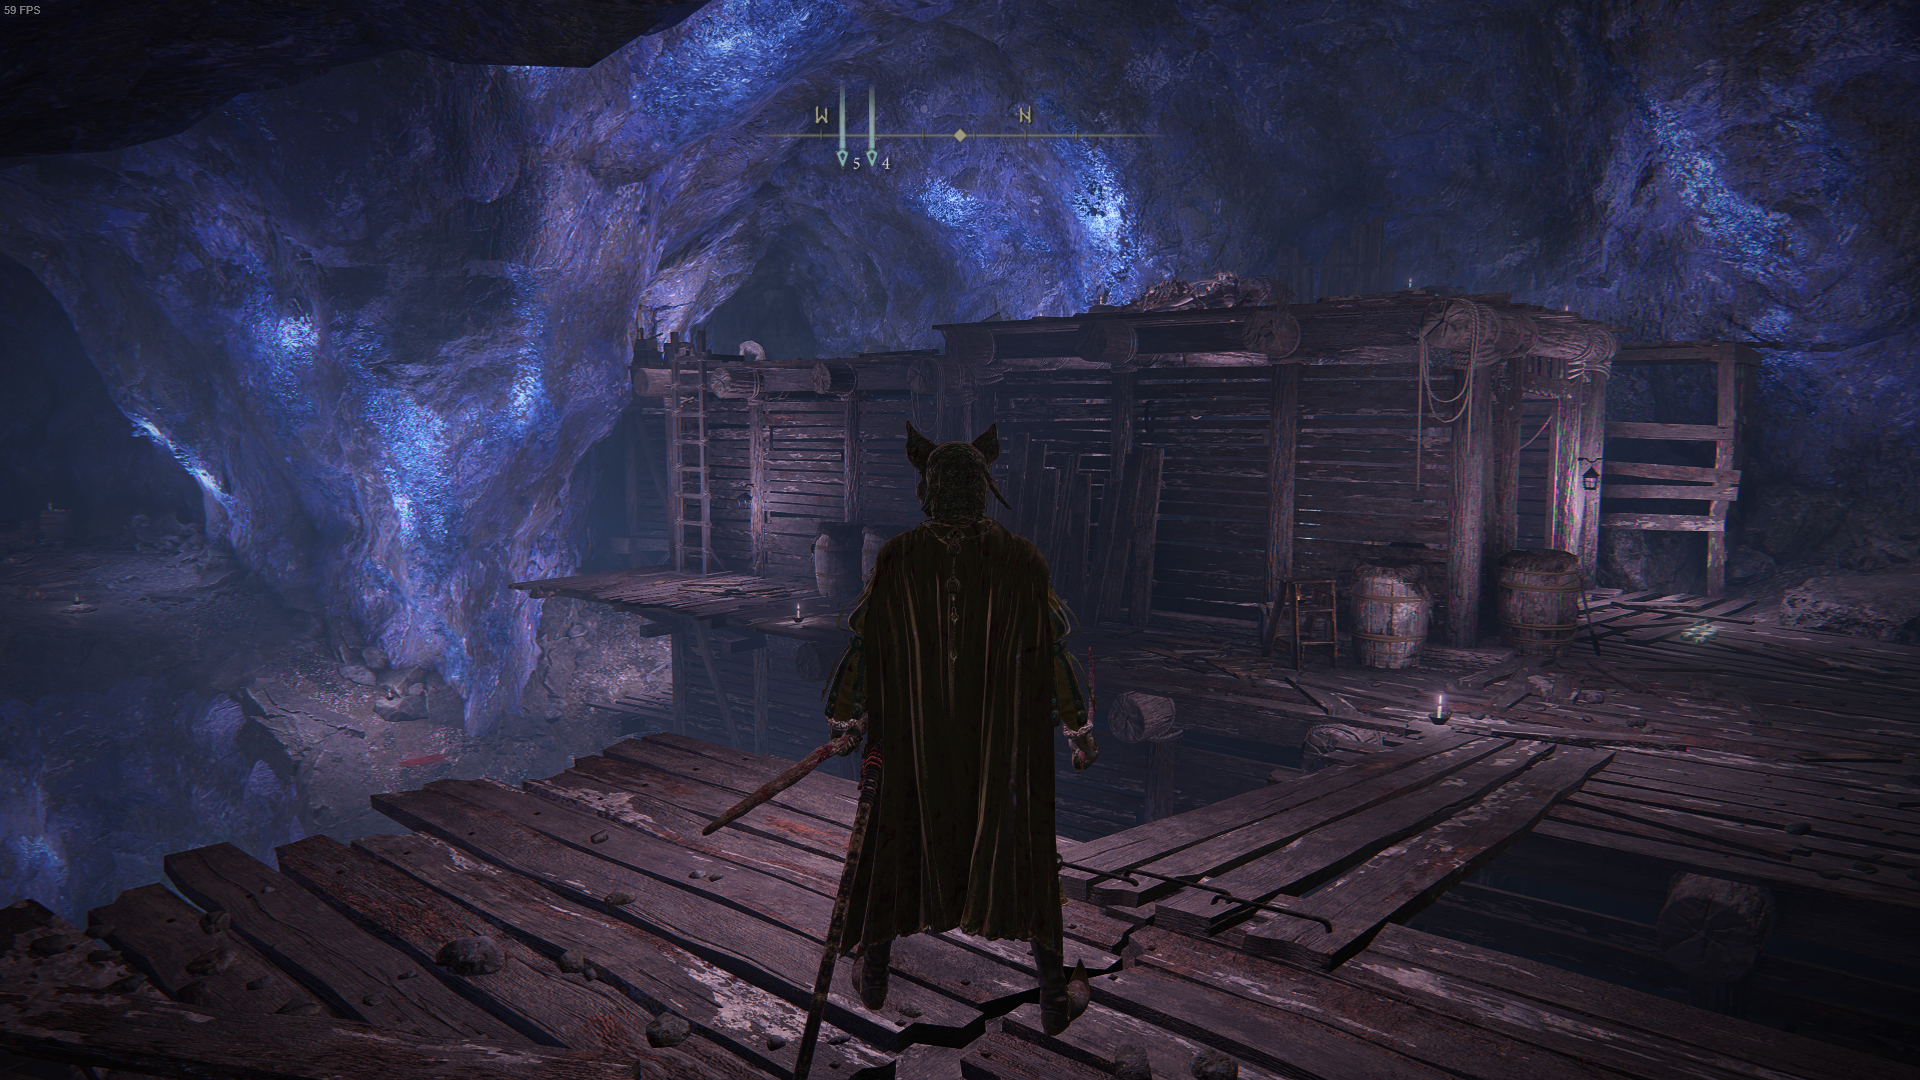
In this guide, we’re going to be approaching Sellia Crystal Tunnels from its natural entrance, and not via the trapped chest in Limgrave. You can find the entrance to the tunnels north of Sellia, Town of Sorcery in Caelid - this is marked on the map below. Grab the Site of Grace, and go straight up the ladder ahead of you. The following area is packed with crystal miners and various insect-like enemies. Many of the miners won’t attack unless provoked, so leave them be temporarily. The insect enemies here put up much more of a fight, and they are able to launch some incredibly hard-hitting ranged attacks at you. So, you’ll want to avoid these guys at all costs, and if alerted, dodge their attacks at all costs. With this in mind, you should focus on clearing insect enemies out first before the miners. Climb the rocks ahead and clear the insect foes out. Now, you can go about clearing the crystal miners. There will be lots of Smithing Stone (5) and Cracked Crystal along the walls of the tunnels, and there is a Golden Rune to grab, too. If you suck at platforming in Elden Ring like me, the next step may be a little tricky. Up the rocky mounds, you will need to jump from land onto the roof of the wooden cabin shown below. Inside of this particular wooden building is a chest containing multiple Gravity Stone Fans and Gravity Stone Chunks. From the roof, jump over to the beam on your left to grab multiple Cuckoo Glintstone from the corpse. You can safely jump down and head into the next section of the tunnels, but be wary of foes again. Advance ahead, kill the enemy, and grab the Somber Smithing Stone (4) from the corpse above. Now, return to where you were prior (where the beam with the Cuckoo Glintstone was) and look to the buildings ahead. There are more enemies here to take care of (one drops Somber Smithing Stone 4), and along the edge of the building ahead is another ladder. First, go into the building on the right and open the chest to retrieve Rock Blaster. Then, go up the ladder and kick the second ladder next to it down. This will save you some platforming and time if you need to get from the Site of Grace to the boss room quickly! In the next room, you can loot 1x Dragonwound Grease from a corpse, and there are three insect foes to take on. Once you clear out the enemies, you can grab the Faithful’s Canvas Talisman Additionally, don’t neglect the walls of the tunnels here, as there will be more Smithing Stones and Cracked Crystals to grab. Now, a gate will be up ahead that’ll lead you right to the Fallingstar Beast of Sellia Crystal Tunnels.
How to Beat the Sellia Crystal Tunnels Fallingstar Beast
Facing the Fallingstar Beast is no easy feat in Elden Ring, and it’s suggested that you’re Level 60+ before giving this fight a good go. This four legged foe is incredibly fast, they hit hard, and they don’t seem to give you a break whatsoever. For this fight, you’ll likely want to use Spirit Ashes to take some aggro, and don’t forget that the Beasts head is their weak spot. The Beast has some incredibly annoying attacks, but fortunately, they don’t have a huge range of attacks for you to study. Whenever they charge at you, there’s no choice but to dodge and run away. They will typically do this charged attack three times before burrowing their head into the ground. Use this as an opportunity to attack the head of the Beast, and then retreat quickly - don’t get greedy. While it may also be tempting to get behind the Beast and to backstab them, their spiny tail is not just for show. They’ll regularly use this to perform a sweeping attack, and if you’re in the line of fire, this attack can sometimes be a one-shot. It can be tempting to dodge through the tail swipe attack - and this does work - but it is much safer to dodge and flee from each of the Beast’s attacks. As with most fights in Elden Ring, patience is key to felling the Beast and making it out alive. It can be hard to keep your cool with this rocky monstrosity on your tail, though. The Fallingstar Beast, once you’ve depleted half of their HP, will also have a second phase. In this second phase, moves are largely the same, albeit a bit quicker. Additionally, the Beast has the power of gravity on its side now. Whenever the purple mist forms, flee, or else you’re going to be hit by a devastating gravity attack that’ll deal both physical and magic damage to you. If you haven’t summoned already, the second phase is the best time to do so. As the Beast is faster, you’ll likely want someone else already to take the aggro. At this point in the game, your best bet is the Jellyfish Spirit Ashes, as they’re the best for taking plenty of damage while slowly poisoning your foes. Alternatively, if you’re a little further ahead with Elden Ring, we discuss the best Spirit Ashes here. Unfortunately, there is simply no way to go about cheesing the Beast, so it’s going to take sheer hard-work and focus to defeat him. Once you’re accustomed to his mediocre moveset and the second phase of the battle, you’ll know what to expect, when to dodge, and thus, will tackle the Fallingstar Beast to the ground. Once felled, the beast drops Somberstone Miner’s Bell Bearing (1), multiple Gravity Stone Chunks, Somber Smithing Stone (6), and Smithing Stone (7). So, if you’re trying to collect all Smithing Stone Bell Bearings, there’s no avoiding this boss. Good luck! For more on The Lands Between, check out our Elden Ring walkthrough.


