Black Knife Catacombs are certainly one of the trickier dungeons in Elden Ring. Not only do you have to fight your way inside of the catacombs, but manouvreing the area is a challenge, and the bosses you’ll soon face are no easy feat. Without further ado, here’s everything you need to know about getting around the Black Knife Catacombs, the loot it hides, and how to defeat the Cemetery Shade and Black Knife Assassin dungeon bosess.
Black Knife Catacombs Items
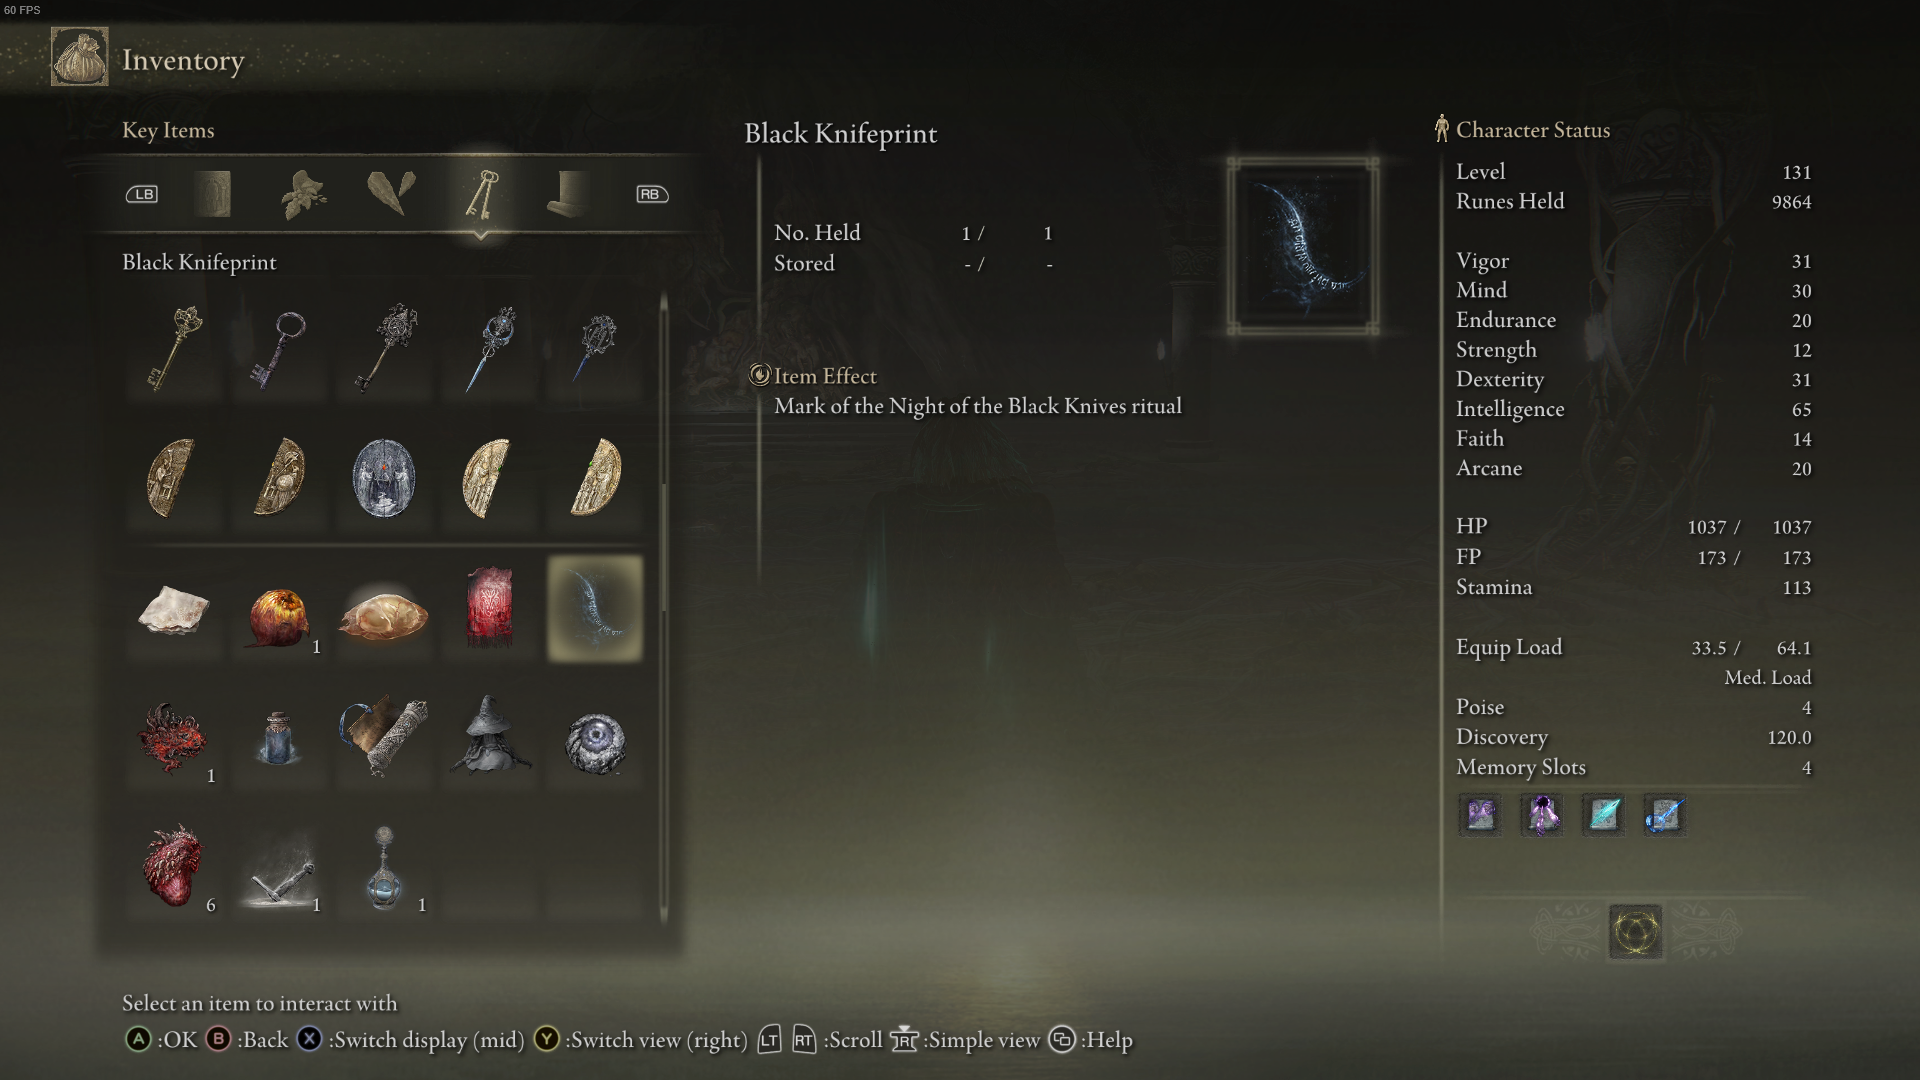
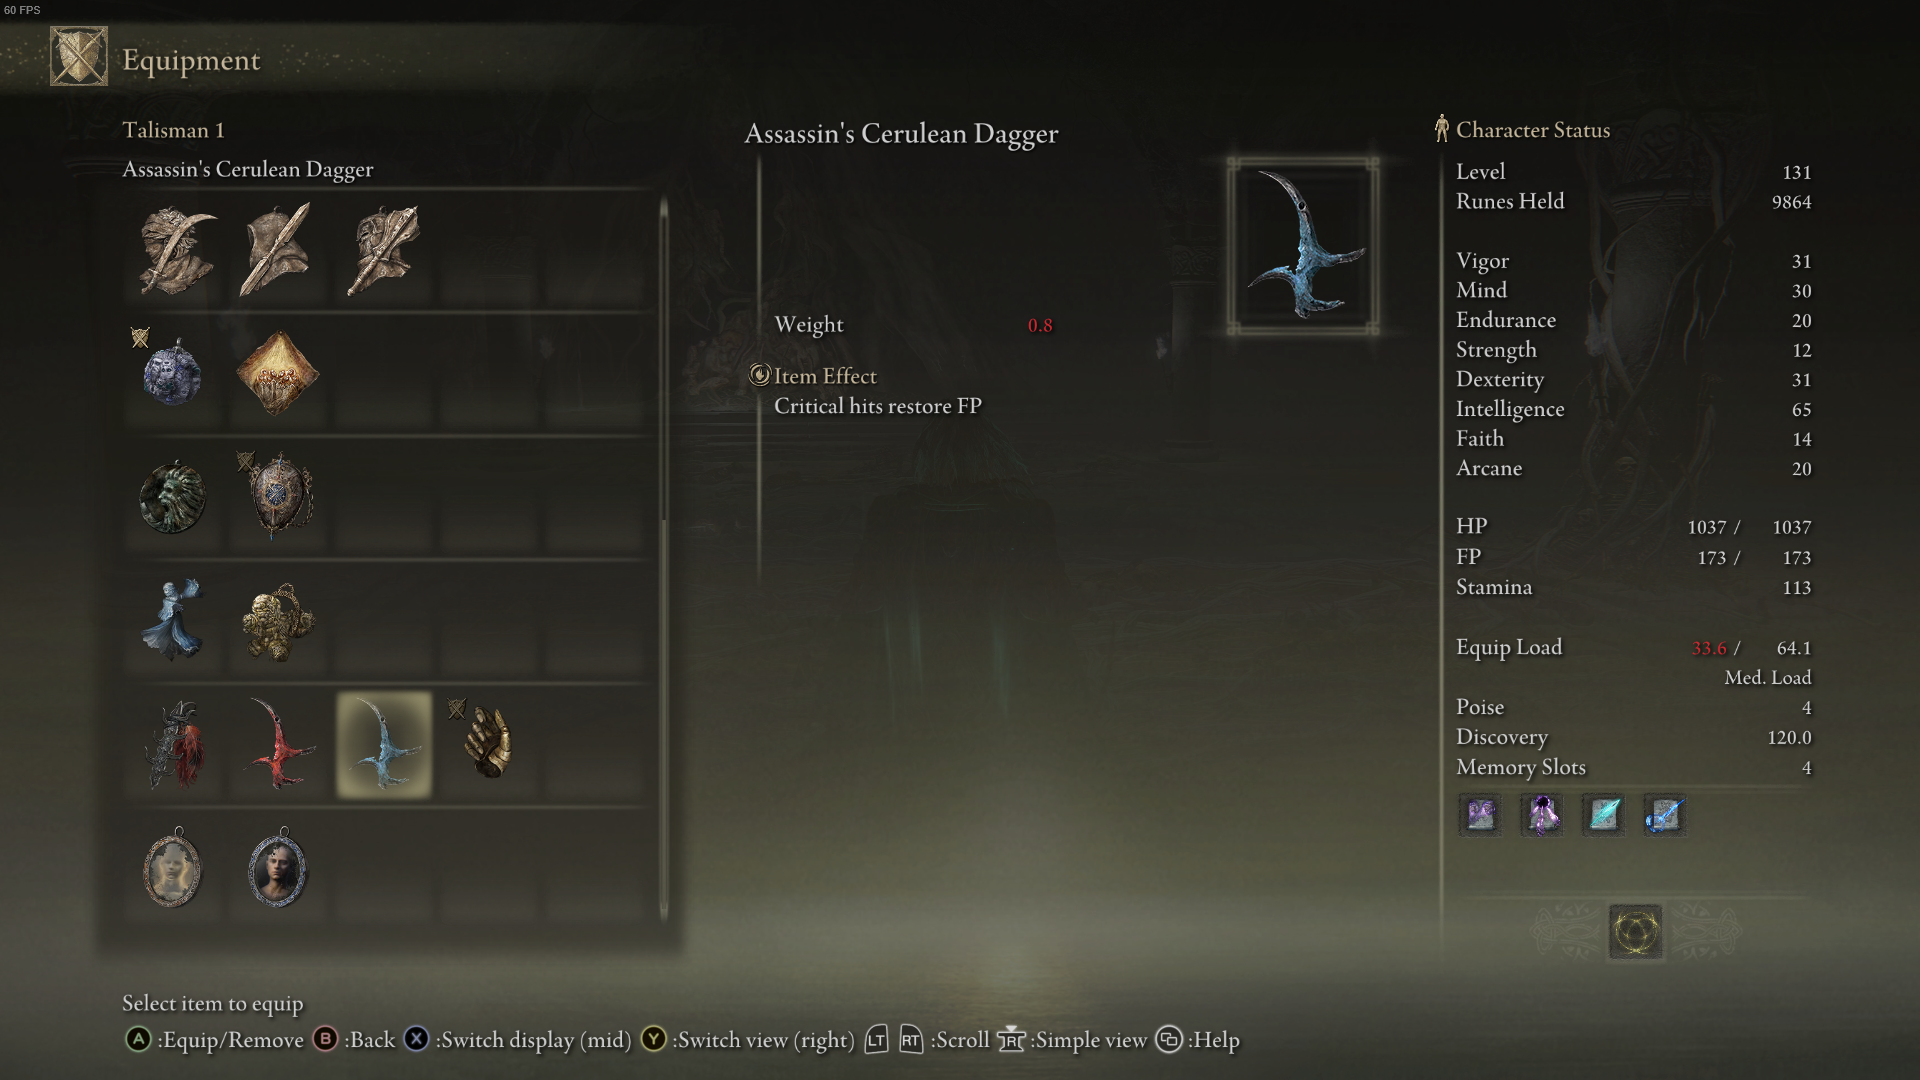
Grave Violet Grave Glovewort Crab Eggs Rosus’ Axe Rune Arc Black Knifeprint Assassin’s Cerulean Dagger Twinsage Sorcerer Ashes Deathroot
How to get around Black Knife Catacombs
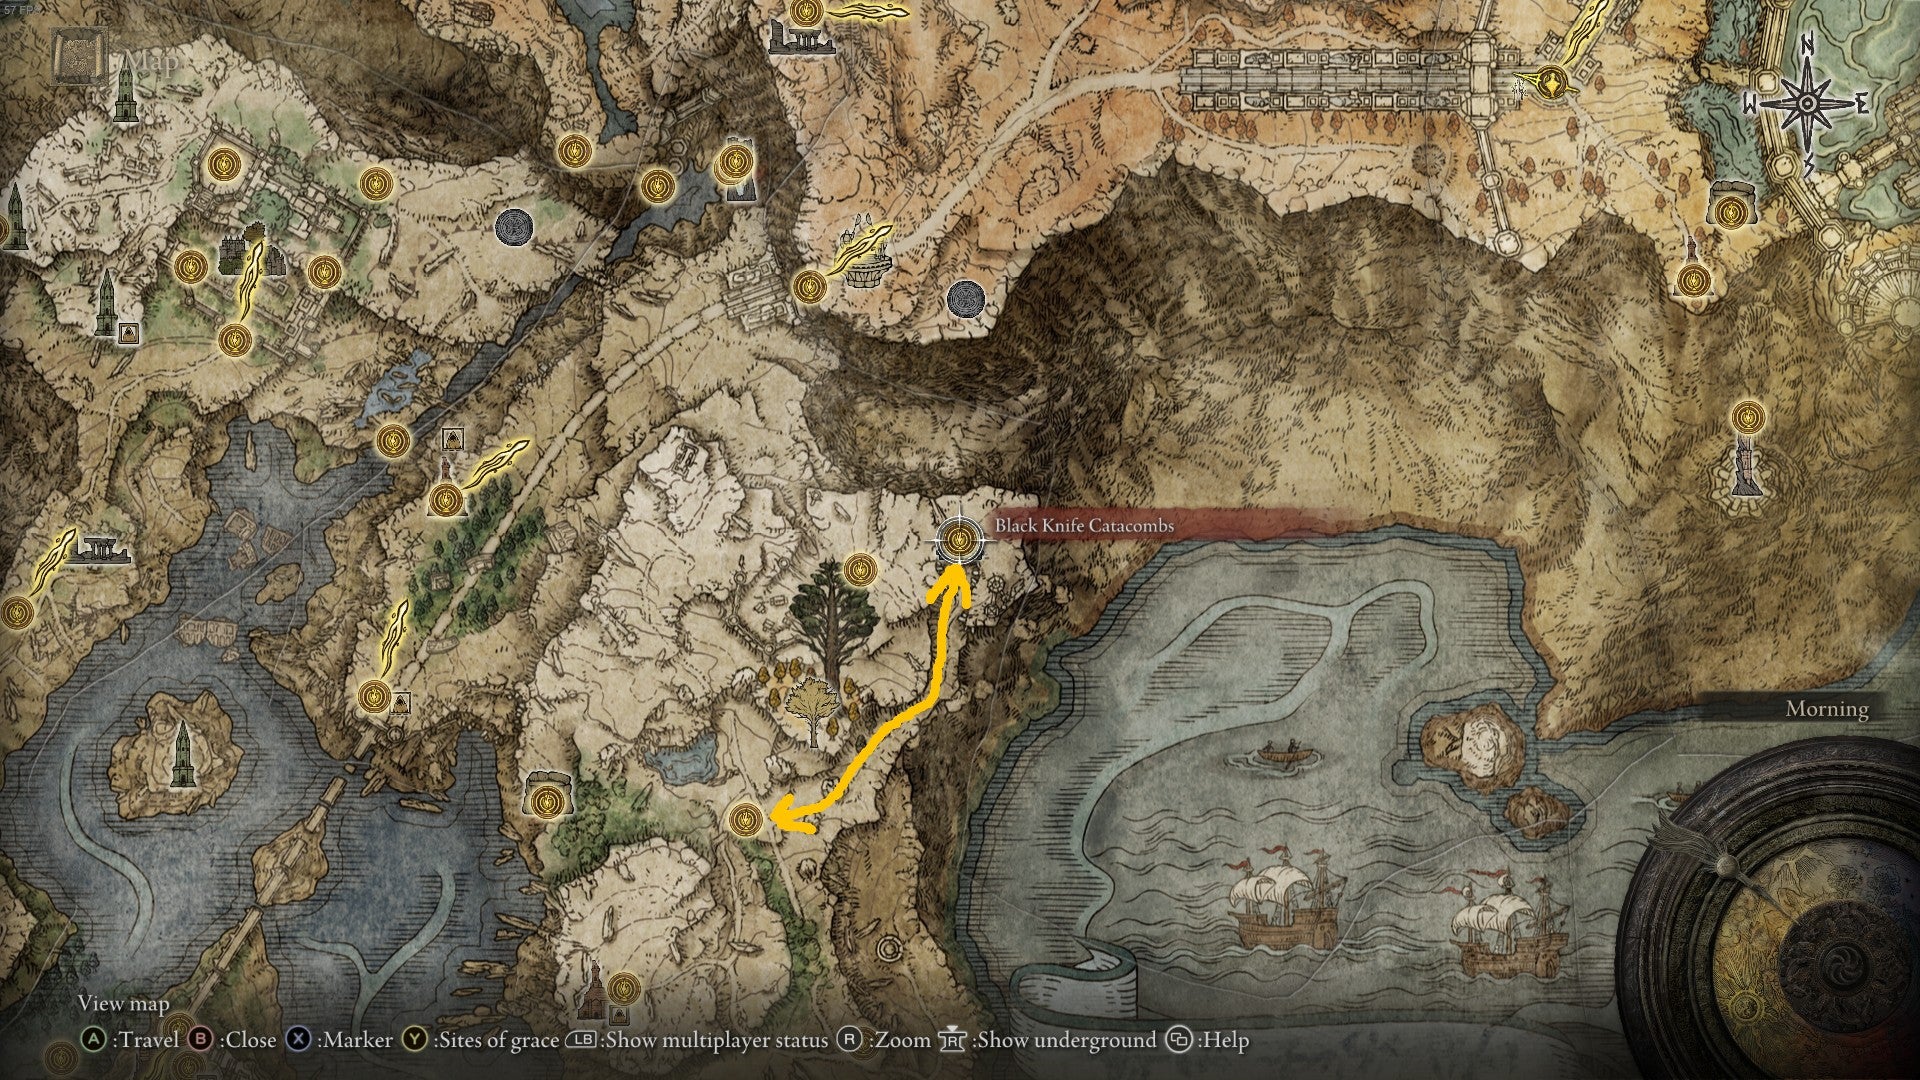
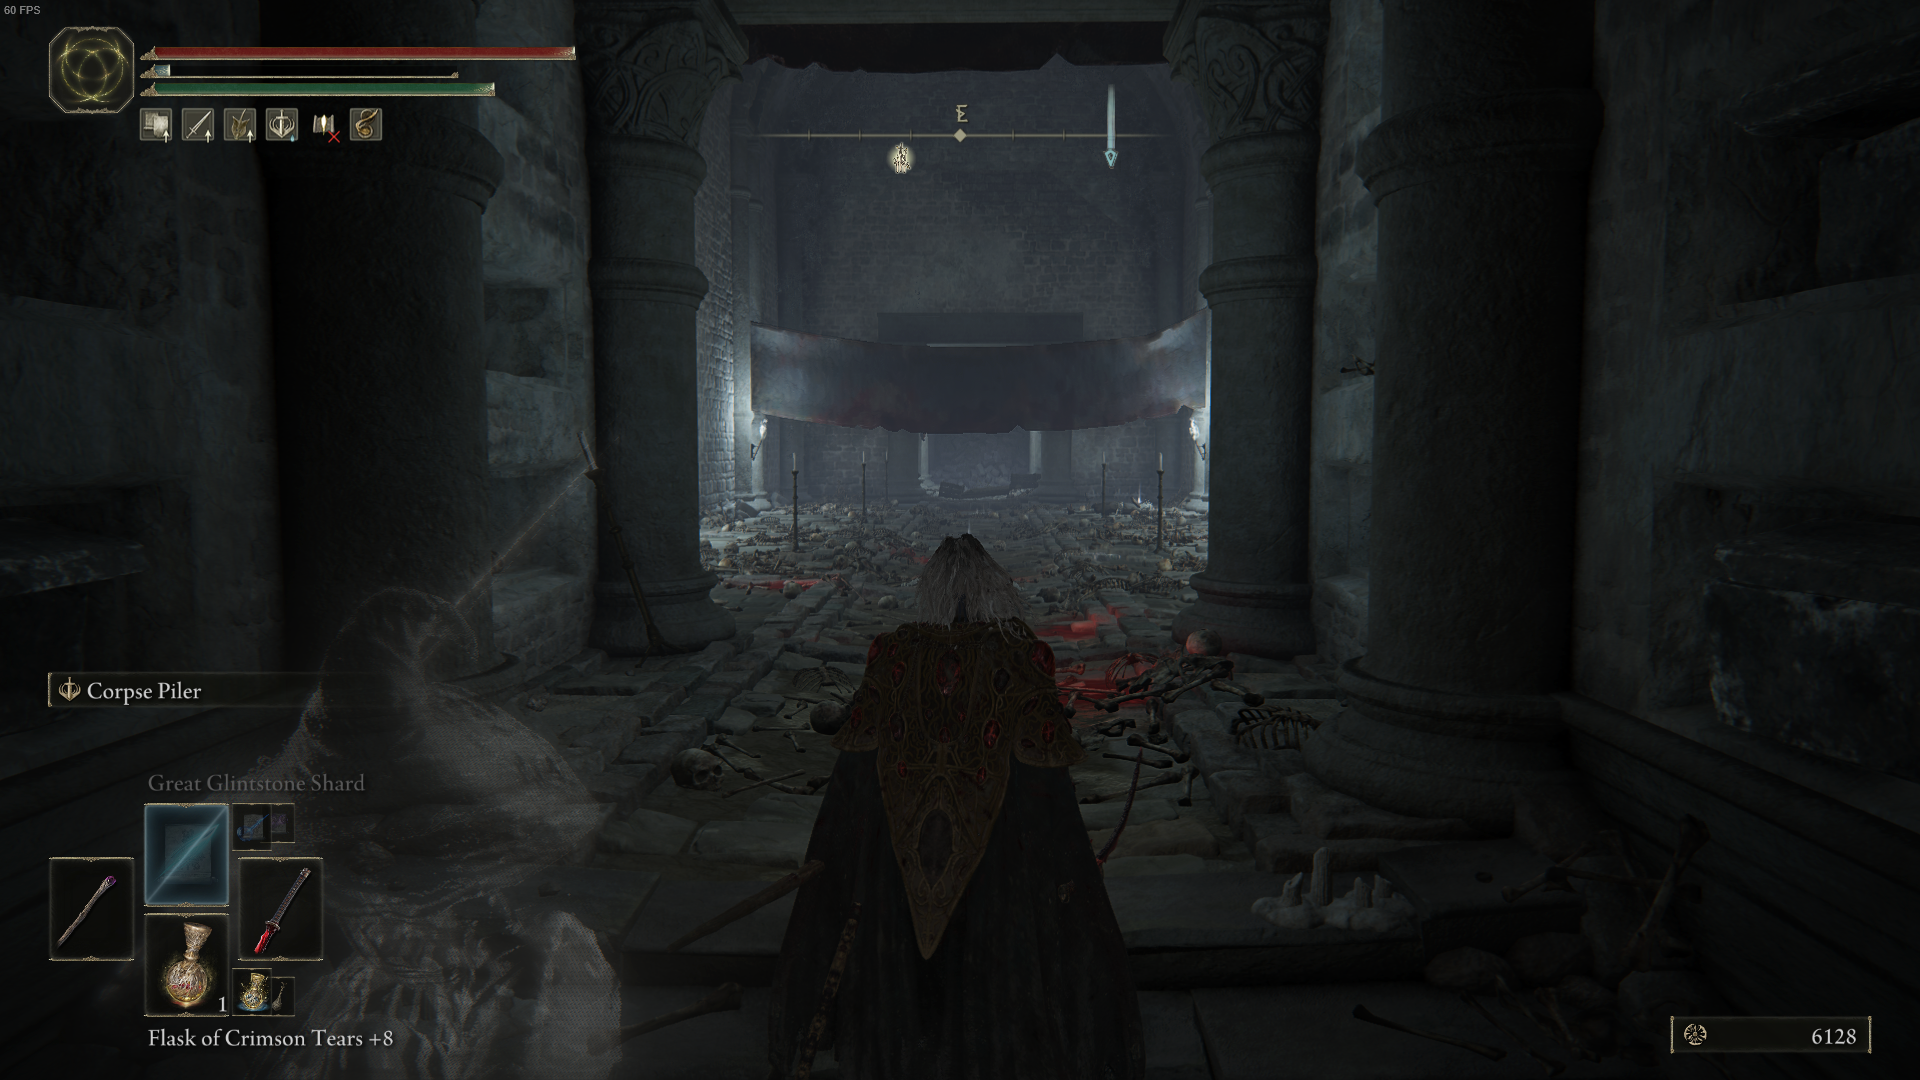
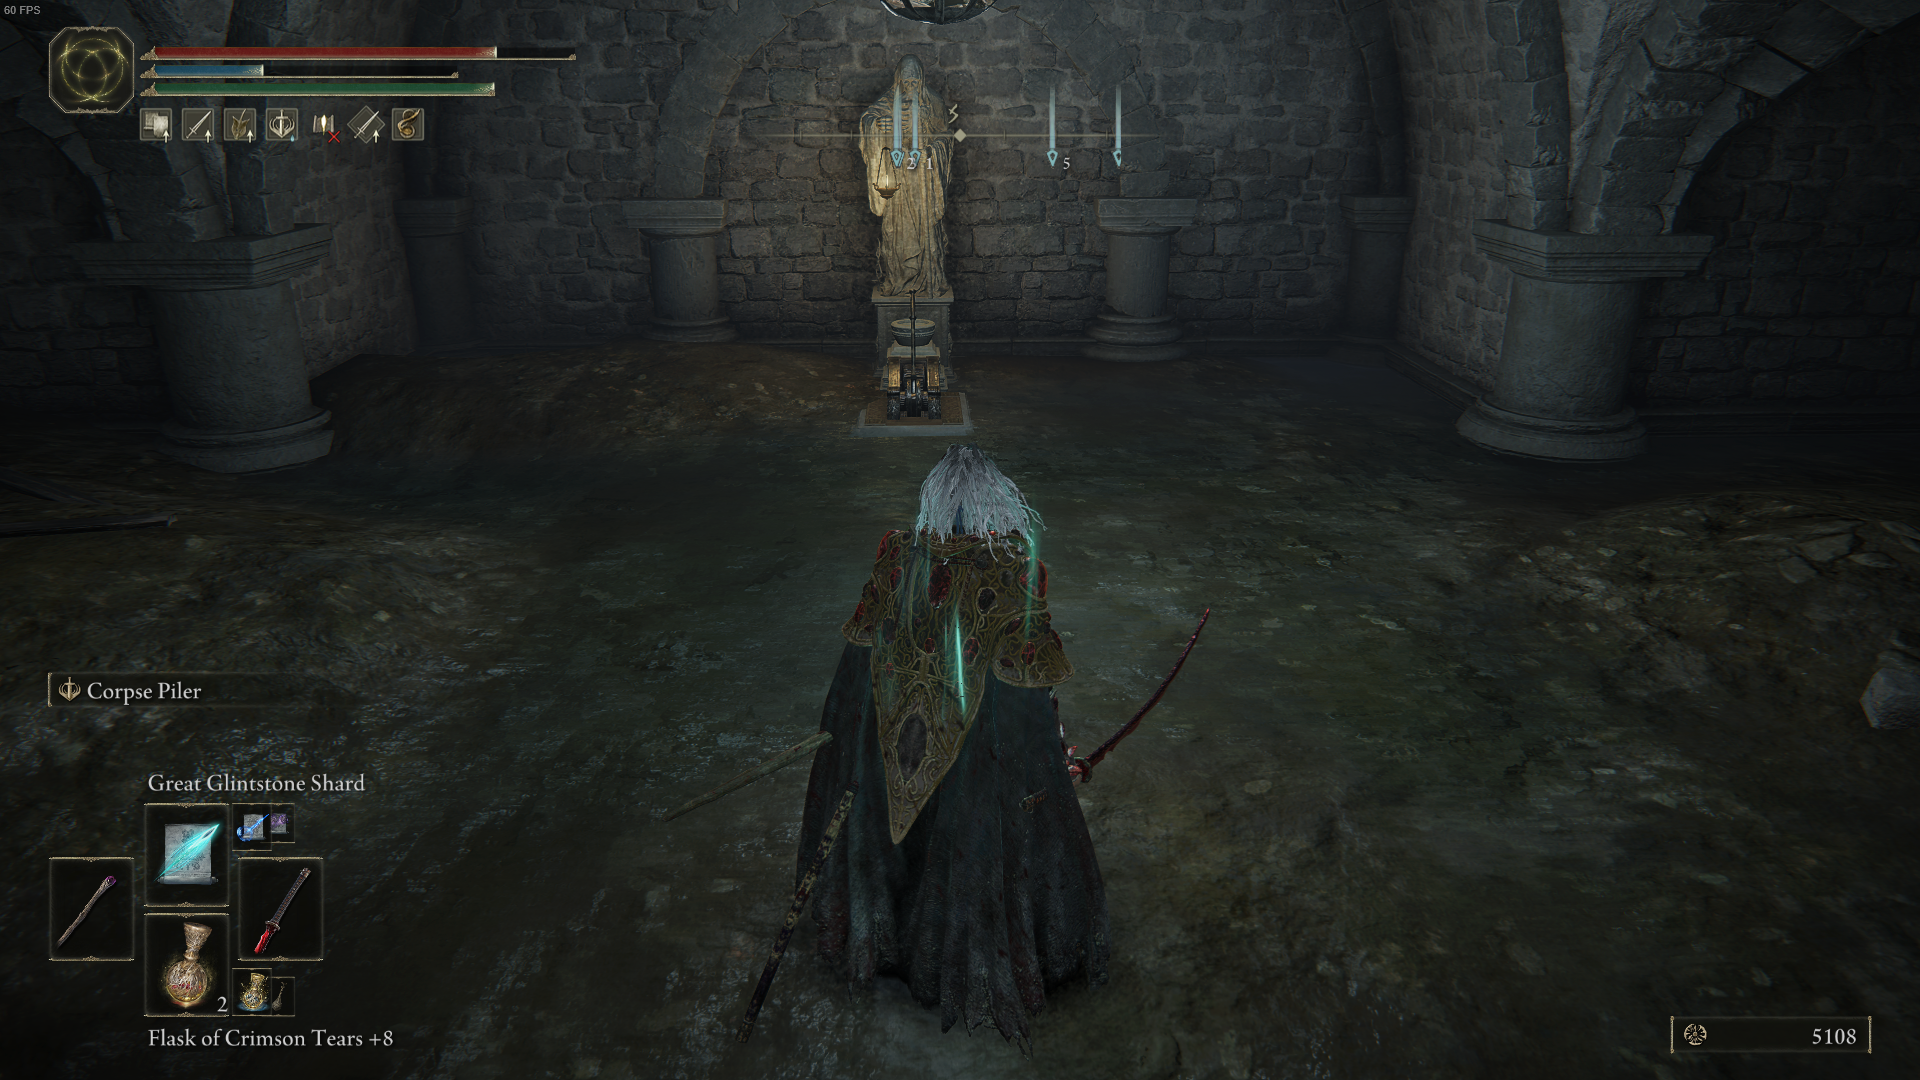
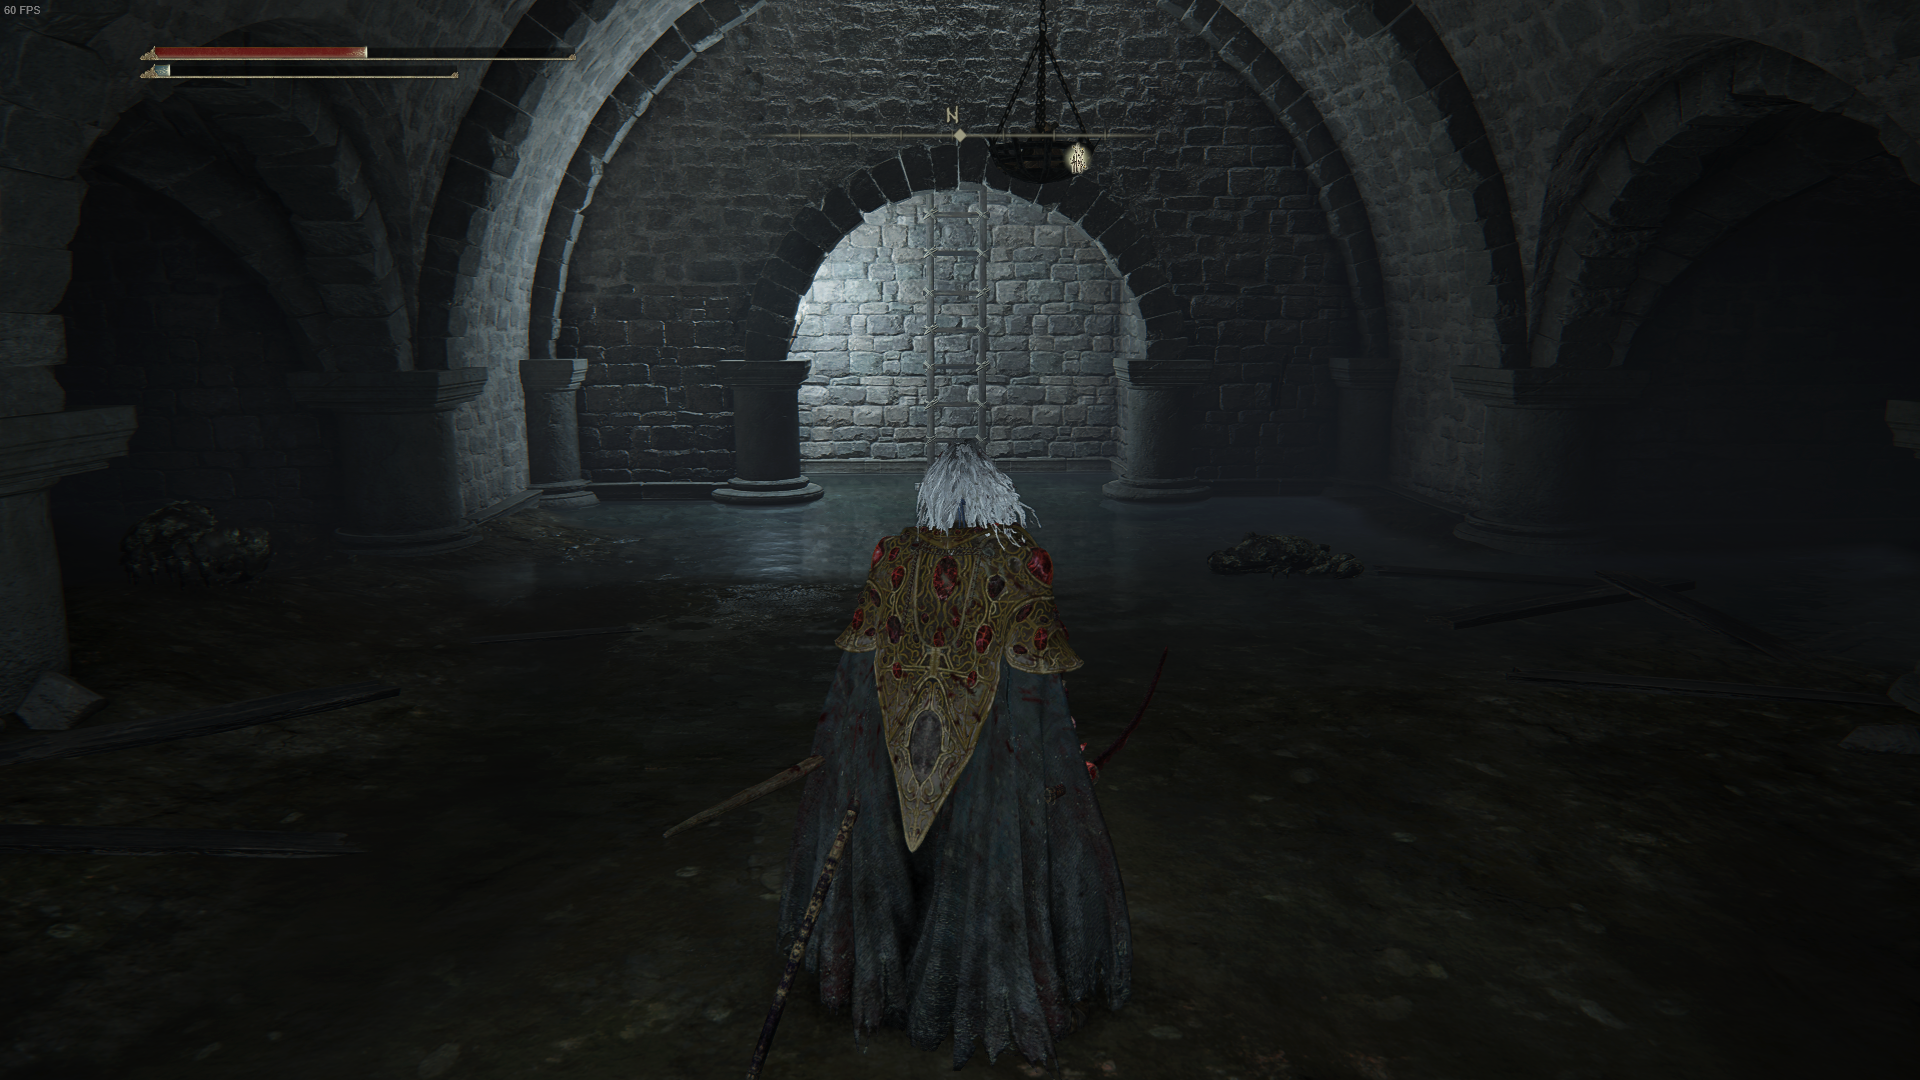
First things first, you can make your way to Black Knife Catacombs from the Ruined Labyrinth Site of Grace near Liurnia of the Lakes. Follow the path north east from here that is below and to the right side of the Minor Erdtree. As you approach the catacombs entrance, a Mausoleum Knight will appear. You can head straight past and grab the Black Knife Catacombs Site of Grace first, or you can just go for it. He’s capable of vanishing and reappearing regularly, closing the distance between you both, but this fight should feel like a walk in the park compared to the bosses you’ll soon be up against. Once in the catacombs, head down the stairs and clear out any skeletons along the way. Make sure to attack them after they’re down to ensure they don’t resurrect themselves again. The door ahead will be locked right now, so continue left. Pick up the Grave Glovewort (2) and Grave Violet along the way. Along this corridor, you can use a Stonesword Key to break the Imp Seal to your left, or you can continue forward. In the sealed room, you can loot Rosus’ Axe from a corpse. Exit the room and go left. Take out the sorcerer at the end of the corridor, loot the Grave Glovewort (2) from the left, and then you’ll need to go right into the room that has various large blades going from the floor to the ceiling at regular intervals. Clear out the skeletons, and advance to the end of the room and down the stairs. Go down the ladder and you’ll find an abundance of Grave Glovewort and Grave Violet down here. To the right of the room, you can loot a Rune Arc from a corpse, but take caution of the giant crab that will pop up as you approach. The room in down here can’t be opened just yet. Go back up the ladder and into the room with the blades. Now, you actually need to stand atop the middle blade as it rises up from the floor. These will raise you up, and you’ll want to jump onto the platform to the left. Clear out the skeleton and sorcerer on the platform, then advance onwards. There will be more enemies along here for you to take care of. Now, attack the wall ahead and it will fall - ahead of you is the dungeon boss, a Black Knife Assassin.
How to Beat the Black Knife Assassin in Black Knife Catacombs
This fight is a tough one. Not only are you fighting an incredibly fast and agile enemy in such a small space, rendering ranged attacks almost useless, but you can’t use your summons either. For this one, I recommend having plenty of health flasks to hand, and be prepared to dodge a lot; your life quite literally will depend on it. It’s best to stay close to the Black Knife Assassin, dodging his attacks then making your own attacks whenever he pauses for a brief moment. If you, however, find a distance between the pair of you, the Assassin can fire a projectile at you from range. Keep a careful eye out for this whenever there’s some space. Chugging flasks can also be quite difficult against this boss, as he is always on your tail and never wants to give you a break, even when there’s some distance. With this in mind, equip some Talismans or armour to aid you with your health and attack power. The Assassin’s Crimson Dagger can restore HP with critical hits, and the Blue-Feathered Branch Sword will increase your defense when your HP is low. Once felled, the Black Knife Assassin will drop the Black Knifeprint and the Assassin’s Cerulean Dagger talisman, which restores your FP on critical hits. That’s all there is to the Black Knife Assassin, but not all that there is to Black Knife Catacombs. Rather than exit the dungeon, leave the room and drop down the small hole to the right. You’ll find yourself in the watery lower level of the dungeon again, but in the locked cell that you couldn’t access earlier.
How to Beat the Cemetery Shade in Black Knife Catacombs
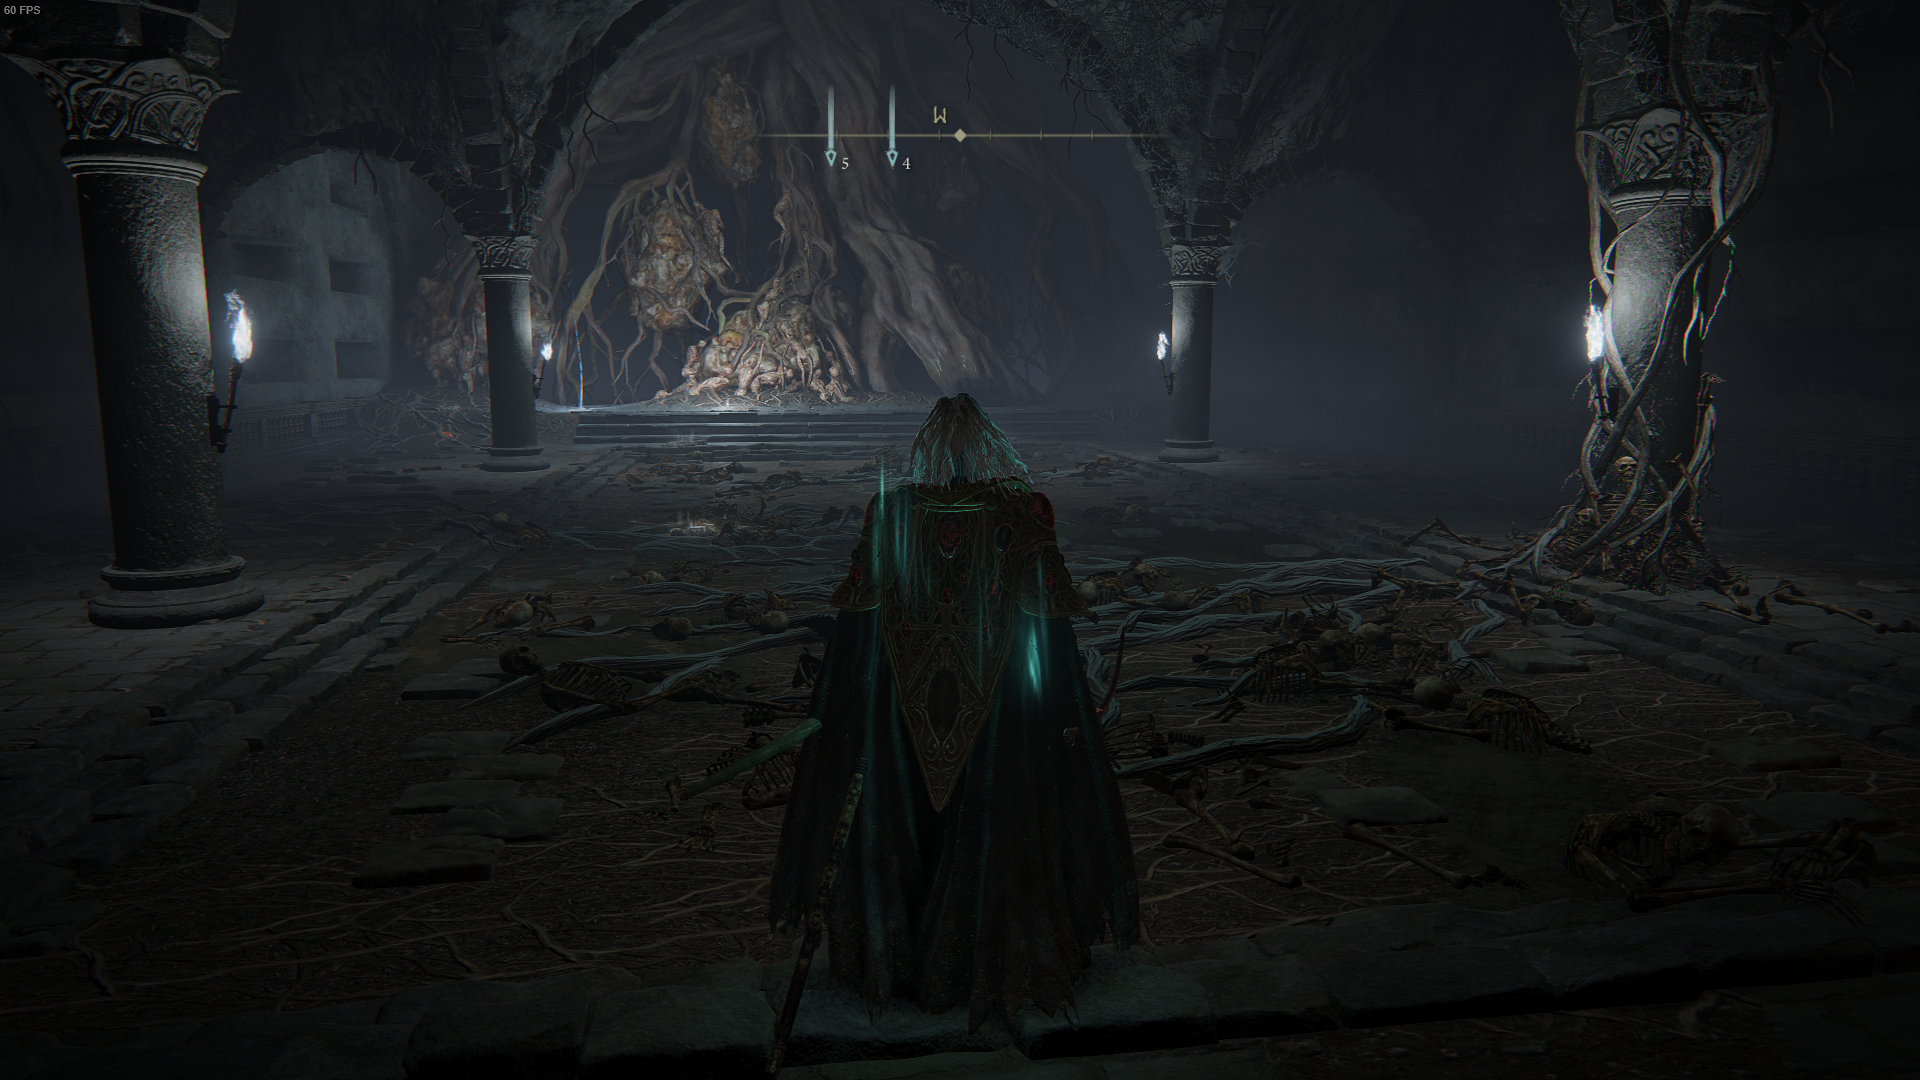
With the Black Knife Assassin taken care of, it’s now time to face the second dungeon boss, a Cemetery Shade. Pull the illuminated lever down here behind you, and the locked door by the dungeon Site of Grace will now be opened. Pull the lever in front of the locked cell down here to access the room of crabs from earlier, and go up the ladder ahead. You can now make your way back up the stairs and to the boss room, or you can head through the Black Knife Assassin’s boss room and return to the entrance. This way you can rest before advancing to the next boss. Once you enter this room, you’ll have four skeletons to clear out before the main boss, a Cemetery Shade. The Cemetery Shade is a haunting enemy, to say the least, and perhaps is the creepiest enemy in all of Elden Ring for me - you’ll know exactly what I mean when you’re facing it. It’ll break the distance between you both with short teleports, uses ranged magic attacks, and will be fast and agile. Your main priority is to not get trapped by the Cemetery Shade’s attacks, as this is the attack that can easily ruin you as it paralyses you; this is also why it’s extra important to ensure the skeletons are cleared before tackling the Shade. Additionally, you can utilise the columns around the room to avoid ranged attacks from the Cemetery Shade, just be cautious to not get your own stuck on them. Once you finally defeat the illusive boss, the Cemetery Shade will drop Twinsage Sorcerer Ashes. There will also now be a chest int he room which you can loot Deathroot from. There you have it. That’s your comprehensive guide to Black Knife Catacombs and the secrest it holds. Good luck, and for more of the same, check out our guides to Sellia Crystal Tunnels and Impaler’s Catacombs, or our entire Elden Ring walkthrough.
